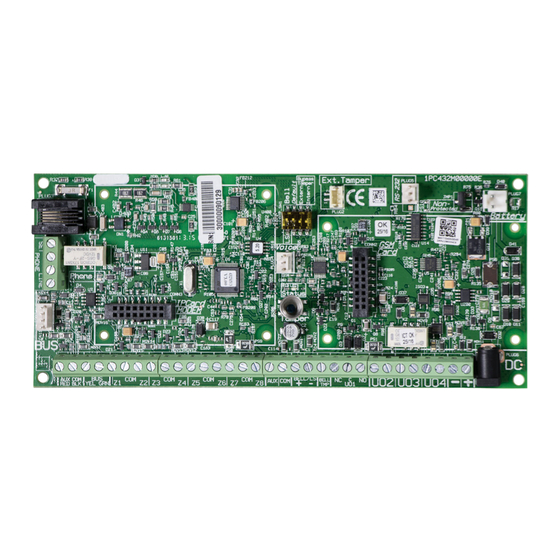
2gig Technologies Vario Manual de instalação rápida - Página 14
Procurar online ou descarregar pdf Manual de instalação rápida para Sistema de segurança 2gig Technologies Vario. 2gig Technologies Vario 18 páginas. Voice module
Também para 2gig Technologies Vario: Manual de instruções de instalação (6 páginas), Manual rápido do utilizador (10 páginas)

3. Select ② (Account) number and enter an account number for each monitoring station.
4. Select ③ (Comm Format) to define the transmission format (SIA or Contact ID).
5. Go through the menus to program any other parameters for communicating with the monitoring station.
General Settings
Several system-wide parameters determine how the 2GIG Vario system works. These parameters are set with default values that apply for most installations. If
you want to modify the default settings, go through the menus to program any other system parameter settings.
Main System Timers
1. From the main installer programming menu, select ① ① (System > Timers).
2. Select options ① and ② to define exit and entry times.
3. Select option ③ to define siren duration time.
4. Scroll through the other options available in the menu.
Set Up Users
As the installer, you must set up the system users. Owners (Grand Masters) can subsequently change their codes.
1. From the main installer programming menu, select ④ (Codes).
2. Select ① (User) to define the authority level and partitions the user can control.
3. Select ③ (Installer) to change the default installer code.
Keyfobs
Each keyfob and key pad can be set up to perform different system functions and control different utility outputs. Up to eight one-way keyfobs can be enrolled in
the system. Each user can be assigned with a single keyfob.
1. Allocate Keyfobs and Keypads
Allocate and calibrate the devices, as described in the Wireless Zones section (see "Wireless Zones" on the previous page).
2. Set Keyfob Options
1. From the installer programming menu, select ⑧ ② ① (Devices > Keyfobs > Select User).
2. Select the user to assign to the keyfob and press
3. Use the arrow keys to scroll between the menus and the
Keyfob Options
Define the function of each keyfob button (1–4) from the options listed below. Use the respective Quick Keys to assign an option for each button:
Button 1 options (
Button 2 options (
Button 3 options: None, Arm, Stay, Panic
Button 4 options: None, Arm S, Stay
Quick Key
❶
❷
❸
❻
14
.
): None, Arm, Stay
): None, Disarm
Keyfob Option Descriptions
Option
None
Button disabled.
Arm
The button is used to arm away the partitions assigned to the keyfob.
Disarm
The button is used to disarm the partitions assigned to the keyfob.
Stay
The button is used to arm stay the partitions assigned to the keyfob.
Panic
The button is used to send a panic alarm.
key to select menu options for the keyfob.
Description
2GIG Vario Quick Install Guide
Copyright © 2016 Nortek Security & Control LLC
