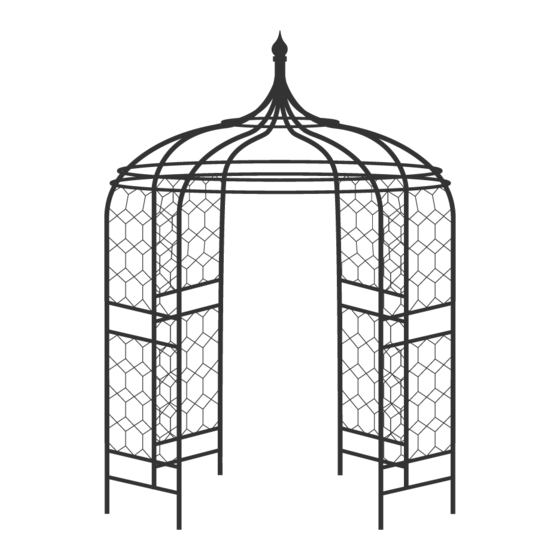
Agriframes 40520-TBK Guia de início rápido - Página 2
Procurar online ou descarregar pdf Guia de início rápido para Mobiliário de exterior Agriframes 40520-TBK. Agriframes 40520-TBK 4 páginas. Classic extra gothic gazebo matt black 3m

Assembly Instructions Classic Extra Gothic Gazebo Matt Black 3m
Please read these instructions carefully.
Assembly requires: A Rubber Mallet, an Allen Key (provided), a Ladder, a Spirit Level, Pliers, a Tape
Measure and at least 2 people.
Please read the assembly instructions carefully prior to construction.
Tips:
Before positioning the Spacer Bars on the uprights, half screw in the grub screws to the Ring Clamps on the Spacer Bars, to
reduce the risk of losing the screws.
Once correctly positioned tighten the grub screw to secure the spacer bar to the uprights.
Positioning of the Spacer Bars
In many cases the position of the horizontal bars is down to personal preference. However, if you have the lattice option you
will need to leave the correct distance between bars.
Lattice Panel Option
For illustrative purposes we have only shown one side fixed with the lattice panels. Attach panels to both sides as you proceed.
1. Before assembly check Spacer Bars to ensure the grub screws are inserted into the holes on the ring
clamps.
o Loosen these grub screws ½ way out of the hole, to ensure when the ring clamps are moved
into position the grub screw does not scratch the outer coating of the metal.
Assemble the Top of the Gazebo...
2. Referring to Figure 1, slide the top of the Gothic Curves into the
brass top clamp assembly. Tighten the grub screws so that they
hold onto the tubes, these may have to be readjusted later.
3. Slide a 2-Way connector onto 4 alternate Gothic Curves. Attach
2 x 2-Way Connectors onto each of the remaining Gothic
Curves, as demonstrated in Figure 2.
4. Temporarily attach a Spacer bar to each set of curves, partially
tighten the grub screws, this will allow you to check the spacing
of the gothic curves, they will be moved later.
5. Adjust the position of the Gothic Curves, as required from the
previous step. Tighten the grub screws in the Brass Top Clamp
Assembly to secure the Gothic Curves.
6. Insert the Gothic Finial into the Top Clamp
Assembly.
Attach the Top Rings to the Gothic Curves...
7. Slide a moisture seal over the reduced end
of the Large, Medium and Small Top ring
pieces.
8. Referring to Figure 2, push the medium top
ring pieces through the 2-Way connectors
on alternate Gothic Curves, ensure that the
rings are on the outside of the Gothic
Curves. Do not tighten the connectors.
Product code: 40520-TBK
Agriframes, Journal house, Hartcliffe Way, Bristol, BS3 5RJ
Orderline: 0117 934 1790 Fax: 0117 934 17 91
Order on-line: www.agriframes.co.uk
Figure 1: Attach Gothic curves to
the Brass Top Clamp Assembly
Figure 2: Attach the Top Rings
