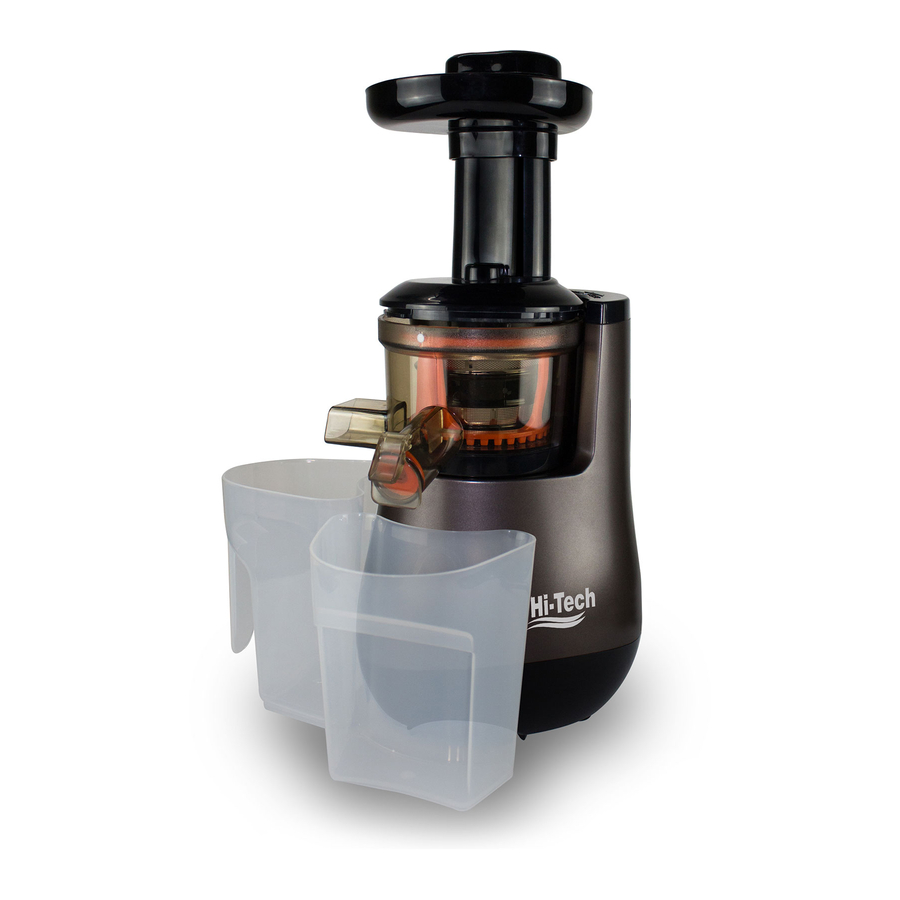
Hi-Tech Juice Presso Classic Manual do utilizador - Página 5
Procurar online ou descarregar pdf Manual do utilizador para Liquidificador Hi-Tech Juice Presso Classic. Hi-Tech Juice Presso Classic 6 páginas.

Notes for use
* Please read the following contents before use.
1 .The materials shall be put into the juicer slowly one by one, and new materials shall
be put into it after the previous materials have been squeezed.
2. The hard materials(such as carrot) shall be put into the machine after being cut into
the blocks about 10- 20mm. (The materials with particularly strong fiber shall be put
into the machine slowly after being cut into the strip of about 20mm length).
3. When the carrot that have been stored at low temperature for over 1 week, it is
unsuitable making juice;
4. The juice amount will be small if the materials are not fresh. When dry materials stored
in refrigerator are used for squeezing, the materials shall be squeezed after being
immersed in clear water for sufficient water absorption, so that the effect will be better.
5. Some Hard and much fiber materials are not applicable to make juice (such as kudzu,
sugarcane, etc).
6. There will be certain friction noise when carrot (hard flesh) or apple(hard peel) is used
for squeezing, but this has no impact on the product.
7. Juice will be splash from the feed inlet when such materials as cherries tomatoes and
grapes are used for squeezing. when use soft fruit to make juice, please mix some
apple or pear together, it will be better to get more juice and marc will go out more
smoothly.
Notes:
This juicer continues working max time is 10 mins, it will stop
after 10 mins, Please Cool juicer about 10 mins and restart it again;
Disassembly method
1. Power off to stop the machine, and pull out the power plug.
2. Use hands to hold the squeezing body cover and rotate it in counter clockwise direction
(see the figure 1 2 );and pull out the squeezing body cover when it is rotated to the position
indicated in the figure.
1
2
7
3.Hold the juicer outlet on the squeezing cup shake it lightly and take it out (see the figure
③).
4. Take out the spiral propeller + squeezingbarrel + washing rack assembly in thesqueezing
cup (see the figure④).
5. Respectively disassemble the spiral propeller, squeezing barrel and washing rack.
3
4
5
8
