HiB NOVUM N18BS60SWO Manual de início rápido - Página 5
Procurar online ou descarregar pdf Manual de início rápido para Mobiliário de interior HiB NOVUM N18BS60SWO. HiB NOVUM N18BS60SWO 8 páginas.
Installation
Please ensure the wall is suitable for wall hung furniture. For stud wall
installations, add an extra timber support into the stud wall prior to finishing
the wall to improve strength.
1. Establish height and location of installation. HiB recommends an installation
height of 900mm to the top of the basin, as per Fig. 1.
2. Plan wall bracket location – if a stud wall, try and place brackets on stud centres
if no other reinforcements have been made. HiB recommends that you use a spirit
level to ensure that the brackets are straight and are level. See Fig. 2.
3. Secure brackets to the wall using fixings suitable for the wall structure.
4. Position shelf onto wall brackets and check the level again. Fine adjustments
can be made by altering the adjuster bolts (Fig. 3, #1) on the end of the bracket.
5. Apply silicone sealant to the top surface of the wall brackets, then fix the shelf in
position. Screw the bracket from underneath, into the underside of the worktop to
ensure that it is secure, as per Fig. 3, #3. Allow the silicone sealant to set.
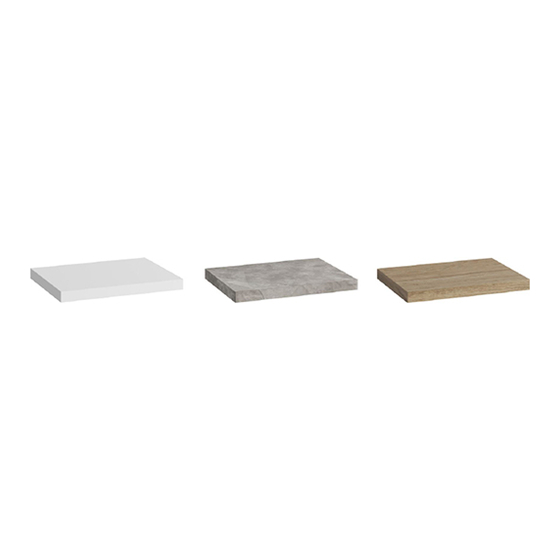
6. Assemble basin and basin waste prior to fitting basin onto countertop.
The waste assembly must be fitted to the basin only. The countertop is not
designed to be a part of the plumbing system.
7. Mark out location of tap(s) and basin(s). Applying masking tape over the area
to be cut will aid marking out and also help prevent the laminate surface from
chipping. Cut suitable apertures for brassware and plumbing as required, using a
hole saw or jigsaw as per Fig. 4.
8. All cut edges MUST be sealed fully with the sealant provided with the product
as per Fig. 4. Failure to do this will invalidate the warranty.
9. Install tap(s) and basin(s) in desired position. It is important that tap(s) and
basin(s) is securely siliconed in place – as per Fig. 5. This helps prevent any
unwanted movement and also prevents water ingress. Allow silicone to set fully
before use.
hib.co.uk
5