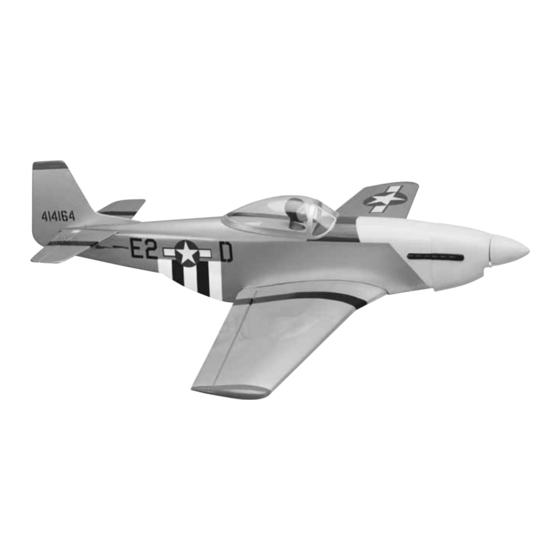
GREAT PLANES COMBAT MUSTANG Combat P-51 ARF Manual de instruções - Página 13
Procurar online ou descarregar pdf Manual de instruções para Brinquedo GREAT PLANES COMBAT MUSTANG Combat P-51 ARF. GREAT PLANES COMBAT MUSTANG Combat P-51 ARF 20 páginas.

Refer to this photo for steps 9-12.
9. Mount the throttle servo as shown using the
hardware included with your servo.
10. Glue the plywood throttle pushrod support in
place. Trim the support as needed.
11. Install a screw-lock pushrod connector into the outer
hole in the servo arm.
12. If you removed your tank earlier, reinsert it now. If you
have not yet permanently glued the balsa stick in place to
hold the tank in position, do it now.
Install the Cowl, Prop & Spinner
Refer to these two pictures for the following steps.
1. Carefully cut the cowl so that it slips easily over the
front of the engine clearing the muffler, needle valve, etc.
2. Slide the cowl over the engine along with the spinner
backplate. Position the cowl so there is approximately 1/8"
[3mm] between the front of the cowl and the back of the
spinner backplate.
3. Holding the cowl in place, drill four 1/16" [1.6mm] holes in
the side of the cowl and through the plywood tab that extends
from the fuselage sides. Install a 2 x 8mm washer head screw
into each of the holes. Remove the cowl and put a couple of
drops of thin CA into each of the holes to harden the threads.
When the glue is cured, reinstall the cowl and screws.
4. Place the spinner backplate onto the engine followed
by the propeller. Tighten the prop nut against the washer.
When the propeller is tight, place the spinner onto the
backplate, holding it in place with the two sheet metal
screws included with the spinner.
Install the Receiver & Battery
Some modelers will want to use a full-size receiver and
battery pack. Others may wish to take advantage of the new
smaller receivers and batteries available today. Depending
on your choice of equipment, you may have to make slight
modifications to your particular installation.
1. For our model we utilized the area in front of the
servos for the battery and the receiver. If you have a
problem with the balance of your plane you may wish to
move the battery and receiver in the area behind the servos.
When installing the radio be sure you protect the battery
and receiver from vibration with 1/4" [6mm] foam. In the
photograph the foam has been omitted to show how we
stacked the battery and receiver. Once positioned in the
fuselage, hold the battery and antenna in place by gluing
sticks to the fuselage side.
2. Cut the covering away from the right side of the
fuselage to reveal the antenna tube exit. Thread the
antenna into the tube inside the fuselage and exiting
through the back of the fuselage.
13
