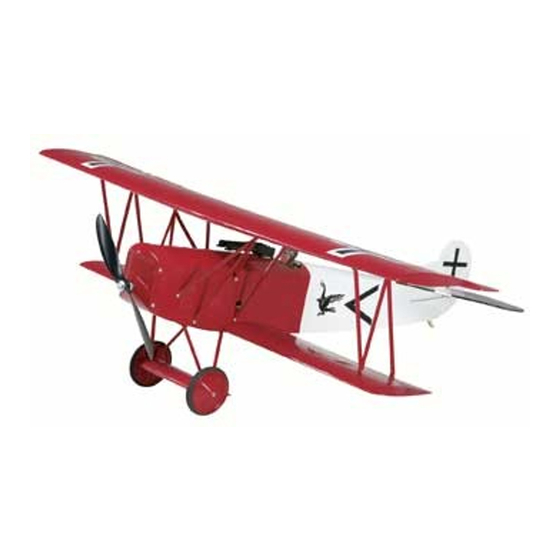
GREAT PLANES Fokker D.VII ARF ElectriFly Manual de instruções - Página 15
Procurar online ou descarregar pdf Manual de instruções para Brinquedo GREAT PLANES Fokker D.VII ARF ElectriFly. GREAT PLANES Fokker D.VII ARF ElectriFly 20 páginas.

Remove the screws and harden the holes with thin CA. Then,
reinstall the screws.
❏
4. Attach the landing gear to the bottom of the fuselage
with four 2mm x 7mm [5/64" x 9/32"] self-tapping washer
head screws. Remove the screws and harden the holes with
thin CA. Then, reinstall the screws.
❏
5. On each axle, place a 3mm [1/8"] washer and 3mm
[1/8"] nut with threadlocker, followed by another 3mm
washer and the wheel. Secure the wheel in place with a
3mm [1/8"] washer and 3mm [1/8"] nut. Apply a drop of
threadlocker to the nut.
❏
6. Put the battery cover in place.The battery cover has three
very small but powerful magnets that will hold it in place.
❏
7. Put the cowl in place so that the motor shaft is centered
in the opening. Drill two 1.6mm [1/16"] holes through each
side of the cowl as shown. Install and then remove a
2mm x 7mm [5/64" x 9/32"] self-tapping washer head screw
into each of the holes you drilled. Apply a couple of drops of
CA into each hole to harden the threads. Put the cowl back
in place and secure it with four 2mm x 7mm [5/64" x 9/32"]
self-tapping washer head screws.
❏
8. Remove a 13mm x 13mm [1/2" x 1/2"] square of covering
from the top of the fuselage in front the cockpit and use CA to
attach the machine gun mount. Glue the machine guns in
place as shown. IMPORTANT: Make sure that the machine
guns do not extend out over the battery compartment.
❏
9. Slide the prop shaft and collet onto the motor shaft. The
collet has a tapered hole through it.
❏
10. Install a 10x4.5 propeller. Install the prop washer and
prop nut and tighten the nut securely.
15
