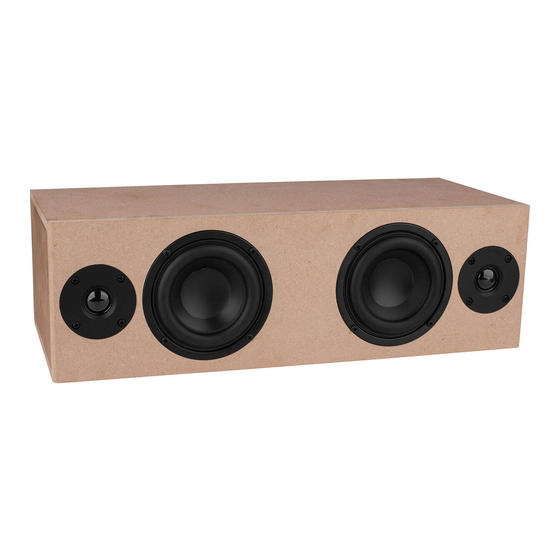
DaytonAudio MKBOOM Manual de montagem - Página 9
Procurar online ou descarregar pdf Manual de montagem para Altifalantes DaytonAudio MKBOOM. DaytonAudio MKBOOM 10 páginas. Mkboom bluetooth powered speaker kit

Final Assembly:
26. Install the Press Fit Port Tubes into the rear of the enclosure. These simply press-fit into place. You may need
to use a hammer or mallet to fully seat the ports in the recess (use scrap wood to protect the port if using a
hammer).
27. Install the amplifier/battery assembly.
a. Connect the four conductor speaker lead you previously installed in the enclosure to the speaker output on the
KAB-250v4 amplifier.
b. Carefully install the amplifier/battery assembly into the opening in the rear of the enclosure. Pay special attention
to the 4 conductor cable connected to the KAB-BE 18650 Battery Extension Board during installation.
c. Ensure that no wires are pinched between the mounting plate and enclosure.
d. Secure the amplifier/battery assembly with eight M3 x 16mm Black Cap Head Wood Screws using the included
Hex (Allen) Wrench.
28. Connect the woofers and tweeters to the installed crossovers. The red/black wires go to the woofers and the
blue/black wires go to the tweeters. The colored wires are positive, be sure to observe polarity.
29. Set the drivers into their cutouts and secure each driver using four #6 x 3/4" Deep Thread Pan Head Screws
Black (a power drill is not recommended).
30. Finally, plug the 15V 4A DC Power Supply AC Adapter into the DC input in the back of the speaker to activate
the KAB-BE 18650 Battery Extension Board. Allow to charge 24 hours to ensure batteries are fully charged (the
MKBoom can be used while charging).
You are now ready to enjoy your finished MKBoom!
9
