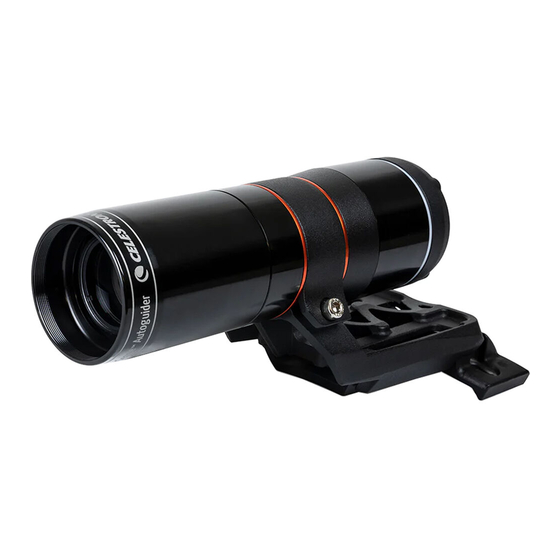
Celestron StarSense 94008 Manual de instruções - Página 9
Procurar online ou descarregar pdf Manual de instruções para Telescópio Celestron StarSense 94008. Celestron StarSense 94008 12 páginas. 94008
Também para Celestron StarSense 94008: Manual de instruções (3 páginas), Manual de instruções (15 páginas)

Fig. 19: Altitude Axis Adjustment window during polar alignment in CPWI.
6. Slowly fi ne-adjust your mount's altitude until the "Alt Error" is less than
two arcminutes.
• If the mount has altitude axis locks, loosen them fi rst.
7. If you would like to readjust the azimuth axis, click "Next Axis."
Otherwise, click "Finish."
8. Congratulations! You have successfully polar-aligned your mount. If
your mount has altitude or azimuth locking knobs or screws, tighten
them fi rmly. For best results, do sky alignment after polar alignment.
If you have already done a sky alignment, then delete the current
alignment from the Alignment menu and perform sky alignment again.
NOTE: Don't attempt to adjust the polar alignment to better than two
arcminutes on each axis. Doing so will be diffi cult and will not
provide additional pointing or tracking benefi ts. In many cases,
autoguiding performance may actually be better with a slight polar
alignment error.
Autoguiding
After sky alignment is complete, SSAG is ready for autoguiding. Simply
slew to the object you wish to image, then turn on the "Guiding Enabled"
option in the SSAG menu. The SSAG will then provide guiding corrections
to your mount automatically. To see the autoguiding corrections, you
can select "Guider Graphs" from the SSAG menu. A graph will appear
showing the error corrections over time.
NOTE: Keep in mind that overall autoguiding performance relies on many
different factors, including the load on the mount, your mount's
balance (i.e., your mount must be well balanced along both axes),
and local seeing conditions.
You'll need to turn guiding on again after slewing to a new object, as the
SSAG needs to recalibrate itself before it can begin guiding on the new
object.
Dithering
In the SSAG menu under Settings (Fig. 20), CPWI offers dithering
options to use with your camera control software when autoguiding.
Dithering moves the telescope very slightly between exposures, helping
to make image processing noise reduction techniques more effective.
You'll need to connect your camera software to CPWI via the ASCOM
driver built into CPWI to use this feature. After you enable dithering in
CPWI, you can set the minimum dithering distance (from 0 to 10") and
the maximum dithering distance (20" to 50"). For some camera control
software, you may also need to enable "PHD Mode" in the SSAG menu.
Fig. 20: You can enable dithering, adjust parameters, and manually adjust guide rates in
the Settings section.
Guide Rate
Normally, you do not need to manually adjust the guide rates for
autoguiding (i.e., the distance the mount moves with each SSAG guide
command). However, suppose your mount is not autoguiding well in one
or both axes. In that case, try manually adjusting the guide rates from
the Settings section of the SSAG menu (Fig. 20). First, turn on Manual
settings for Guide Rate, then adjust the guide rate for each axis using the
sliders. Use trial and error to determine your mount's best manual guide
rate settings.
Other Functionality
Live View
The Live View window displays a live readout from SSAG's image sensor.
Its primary purpose is to aid in focusing SSAG's lens (see the section on
Focusing later in this manual), but it can also be interesting to see what
SSAG is seeing. Note the sharp stars across the fi eld of view due to the
excellent optical design of the lens.
To see the Live View, you'll need to connect SSAG directly to your
PC using a USB Type-A to USB Type-C cable (not supplied). This is
because the AUX interface cannot support the transfer of images. You'll
also need to install the SSAG driver on your computer. You'll fi nd it in the
Support & Downloads section of the StarSense Autoguider (#94008)
product page at celestron.com.
Once you install the driver and connect SSAG with the USB cable,
the Live View window will display the current view from SSAG's image
sensor. There are no controls for the Live View. SSAG automatically
adjusts exposure and gain to obtain the best images.
NOTE: You should still connect SSAG to the mount via AUX while it is
connected to the PC via USB for Live View.
Precise GoTo
Precise GoTo uses SSAG to more accurately center objects in the
fi eld of view. When this option is enabled, the telescope mount uses
its internal alignment model to fi nd and center the object as usual; this
should generally place the object somewhere in the fi eld of view. Then
SSAG takes over, making fi ne corrections to the centering, signifi cantly
improving the overall pointing accuracy. When you are using SSAG,
Precise GoTo is enabled by default. If you want to turn this feature off,
you can do so from the StarSense AG menu.
Version
Selecting this option displays the current version of SSAG's fi rmware.
ENGLISH |
9
