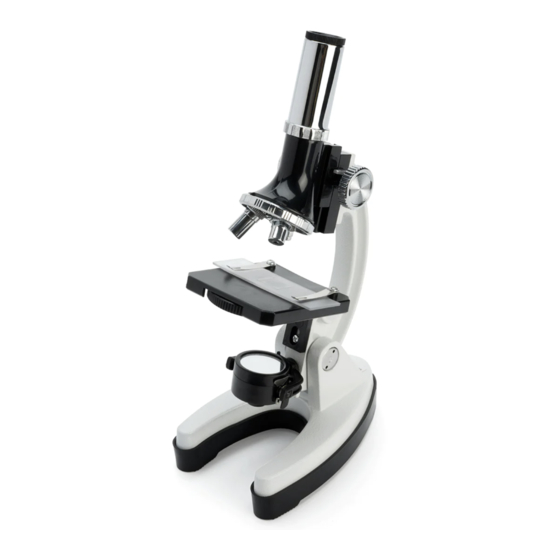
Celestron 44124 Manual de instruções - Página 5
Procurar online ou descarregar pdf Manual de instruções para Microscópio Celestron 44124. Celestron 44124 10 páginas. Basic microscope kit
Também para Celestron 44124: Manual de instruções (17 páginas), Manual de configuração rápida (13 páginas)

GETTING STARTED
Open the box and carefully remove the microscope placing one hand around the microscope arm and one
under the base. Place on a flat, sturdy surface.
1. Remove the plastic dust cap from the eyepiece (E).
2. Unscrew at least one screw holding in the rubber cover on the base (N) and install the two AA batteries
(not included) See Fig. 2
CAUTION: Take care to install the batteries in the correct orientation. Follow battery manufacturer's precautions.
Do not install batteries backwards, or mix new and used batteries. Do not mix alkaline, standard (carbon-zinc),
or rechargeable batteries.
3. You are now ready to use your microscope!
Figure 2
Figure 3
CAUTION: When finished observing using the light bulb illuminator, be sure to flip the Illuminator over
180°, turning off the lamp ensuring a long life of the bulb.
OBSERVING
1.
Lower the stage (K). Then rotate the objective
nosepiece (H) until the shortest objective (100X)
is over the stage opening as shown in Fig. 3.
2. Place a specimen of your choice on a slide (A)
and place the slide under the stage clips (J).
Position the specimen over the Stage opening.
3. Look through the eyepiece (E) and slowly
turn the focus knob (G) until the specimen
comes into focus.
4. Adjust the mirror or bottom illuminator (M)
to change the amount of light shining
through the specimen to optimize the image.
5. To increase the magnification, lower the
stage once again and rotate the nosepiece to
line up either the 600X or 1200X Objective.
HELPFUL TIPS
•
Always make sure to lower the stage
before rotating the nosepiece to change the
objective power. This will ensure the objective
will not be damaged by contacting the stage.
• The view through the eyepiece will appear
upside down and reversed from left to right.
Take this into consideration when moving
the specimen slide around on the stage.
• Do not always assume that increasing
magnification will produce the best image for
viewing. Each time you increase the magnification,
the amount of light decreases, and the section
of the image you are able to view also decreases.
Experiment observing with all three objectives
for all specimens until you get a feel for the
magnification levels.
4
