909 DYM-1773 Manual de instruções - Página 11
Procurar online ou descarregar pdf Manual de instruções para Cortador de relva 909 DYM-1773. 909 DYM-1773 16 páginas. 135cc petrol lawn mower
6.8 Height adjustment instructions
CAUTION:
Do not at any time
make any adjustment
to lawnmower without first
stopping the engine and
disconnecting the spark plug
wire.
CAUTION:
before changing
mowing height, stop mower
and disconnect spark plug
cable.
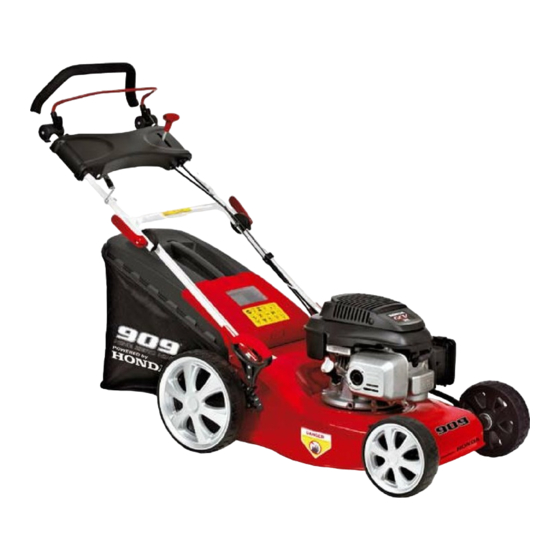
Your mower is equipped with
a central height adjustment lever offering 7 height positions.
1. Stop mower and disconnect spark plug cable before
changing mower cutting height.
2. The central height adjustment lever offers you 7 different
height positions.
3. To change the height of cut, squeeze adjuster lever
toward the wheel, moving up or down to selected height.
(Fig.11) All wheels will be in the same height of cut.
7. Maintenance instructions
Spark plug
Use only original replacement spark plug. For best results,
replace the spark plug every 100 hours of use.
8. Lubrication instrucions
CAUTION: Disconnect spark plug before servicing.
1. Wheels-Lubricate the ball bearings in each wheel at least
once a season with a light oil.
2. Engine-Follow engine manual for lubrication instructions.
Fig. 11
9. Cleaning
CAUTION:
Do not hose engine. Water can damage engine
or contaminate the fuel system.
1. Wipe deck with dry cloth.
2. Hose under deck by tilting the mower so that the spark
plug is up.
9.1 Engine air cleaner
CAUTION:
Do not allow dirt or dust to clog the air filter foam
element. The engine air cleaner element must be serviced
(cleaned) after 25 hours normal mowing. The foam element
must be serviced regularly ifthe mower is used in dry dusty
conditions.
To clean air filter
1. Press down the two tabs on top of the filter cover.
2. Remove cover.
3. Wash filter element in soap
water.
DO NOT USE GASOLINE!
4. Air dry filter element.
5. Place a few drops of SAE30
oil on the foam filter and
squeeze tightly to remove
any excess oil.
6. Reinstall filter.
NOTE:
Replace filter if frayed,
torn, damaged or unable to be cleaned.
11
Fig. 12
Filter cover