Emerson Micro Motion TA Series Manual de instalação - Página 6
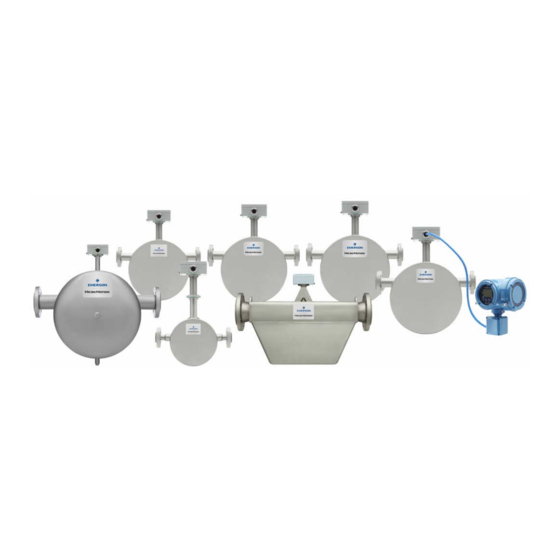
Procurar online ou descarregar pdf Manual de instalação para Instrumentos de medição Emerson Micro Motion TA Series. Emerson Micro Motion TA Series 16 páginas. Flow and density meter
Também para Emerson Micro Motion TA Series: Manual de instalação (18 páginas), Manual de instalação (20 páginas)
Planning
Topic
Hazardous area installation
All documentation resources are available at
documentation DVD.
1.3
Installation checklist
□
□
□
□
□
□
□
1.3.1
Orientation options
You can mount the meter in any orientation as long as the conduit openings or display do
not point upward. Keep the sensor tubes full of process fluid to achieve best performance.
CAUTION!
Installing the meter with the conduit openings or display facing upward risks moisture
entering the housing, which could damage the meter.
2
Safety messages are provided throughout this content to protect personnel and
equipment. Read each safety message carefully before proceeding to the next step.
If possible, install the meter in a location that will prevent direct exposure to
sunlight. The environmental limits for the meter may be further restricted by
hazardous area approvals.
If you plan to mount the meter in a hazardous area:
-
Verify that the meter has the appropriate hazardous area approval. Each meter
has a hazardous area approval tag attached to the meter housing.
-
For ATEX/IECEx installations, strictly adhere to the safety instructions
documented in the ATEX/IECEx approvals documentation available on the
Product Documentation DVD shipped with the product or at www.emerson.com.
Be sure to reference this documentation in addition to the information shown in
this guide.
Verify that the local ambient and process temperatures are within the limits of the
meter.
Follow the wiring instructions in the Model 5700 installation manual for signal and
power wiring.
Mount the meter in a location and orientation that allows sufficient clearance to
open the housing cover. Allow 8–10 inches (200–250 mm) clearance at the wiring
access points.
Install the meter so that the flow direction arrow on the sensor case matches the
actual forward flow of the process. Flow direction is also software-selectable.
Document
See the approval documentation shipped with the transmitter, or
download the appropriate documentation at www.emerson.com.
www.emerson.com
or on the user
Micro Motion TA Series