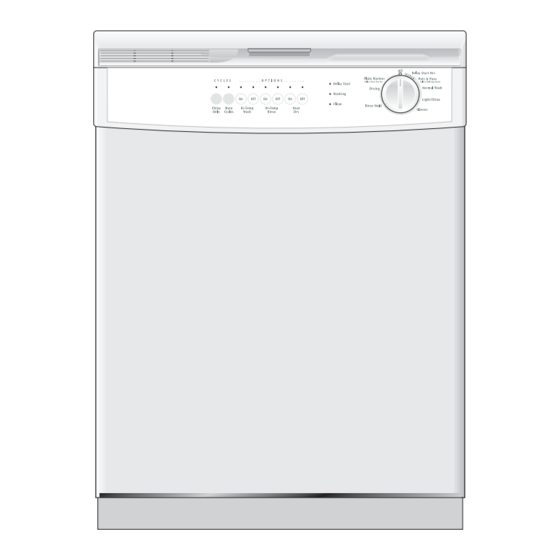
Frigidaire 200 Series Manual de utilização e cuidados - Página 12
Procurar online ou descarregar pdf Manual de utilização e cuidados para Máquina de lavar loiça Frigidaire 200 Series. Frigidaire 200 Series 16 páginas. Frigidaire dishwasher
Também para Frigidaire 200 Series: Manual de utilização e cuidados (16 páginas), Manual de utilização e cuidados (18 páginas), Manual de utilização e cuidados (16 páginas), Manual de utilização e cuidados (18 páginas)

Connecting and Disconnecting the Portable/
Convertible Dishwasher
The portable/convertible dishwasher must be connected to a faucet and electrical outlet each time it is used.
Follow directions on this page to properly connect dishwasher.
Faucet Adapter Assembly
For Inside
For Outside
Threaded
Threaded
Faucet
Faucet
Thick
Use Thin
Washer
Only
Washers
Two Brass
Adapter
Screens
(Dual
should be
Thread)
below the
washers
Connecting the Portable
Faucet Adapter Assembly
Collar
Coupler
Avoid fire hazard or
electrical shock. Do not
use an adapter plug,
extension cord or remove
grounding prong from
electrical power cord.
Failure to follow this
warning can cause serious
injury, fire or death.
Power supply cord with 3-prong
grounding plug
IMPORTANT: Make sure door is latched before moving dishwasher.
The power cord, faucet coupler and hoses are located in a compartment in
back of dishwasher. A special adapter must be installed on faucet before you
can connect dishwasher.
1. Remove faucet adapter assembly from literature package.
2. Unscrew existing sink faucet aerator.
Use
3. Check faucet spout to see if threads are inside or outside.
• If threads are on inside of faucet spout, use both thick and thin rubber
and
washers.
Thin
• If threads are on outside of faucet spout, use thin rubber washer only.
• If faucet has no threads, an adapter kit with instructions for attachment
to a non-threaded spout is available at most hardware stores.
4. Assemble faucet spout as shown. Make sure the two brass screens are
located below the rubber washers.
rubber
Connecting the Portable/Convertible Dishwasher
1. Run water at faucet until it is hot. Turn off faucet.
2. Pull hoses out of compartment.
3. Push collar down and slip faucet connector onto faucet adapter.
4. When connector snaps into place, release collar.
5. Slowly turn on hot water all the way.
6. Plug power cord into grounded outlet.
Getting Water While Dishwasher is Running
You can get water from the faucet while the dishwasher is connected.
However, avoid getting water when the dishwasher is filling or draining.
1. Press red button on coupler to get the water you want. The faucet is set on
hot, adjust faucet if you want cold.
2. Be sure hot water is turned back on all the way to complete cycle.
Disconnecting the Portable/Convertible Dishwasher
1. When cycle has finished, turn off hot water.
2. Press red button on coupler to release water pressure being careful not to
release coupler.
3. Press down on collar to release coupler.
4. Empty remaining water from coupler and return it to compartment.
5. Unplug power cord and return it to compartment.
IMPORTANT: A sink spray attachment hose can burst due to constant water
pressure while in use. If your spray hose is installed on same water line as the
dishwasher, we suggest you disconnect the sink spray attachment and plug
the hole.
Electrical Connection for a Portable/Convertible Dishwasher
An electrical supply of 120 volts, 60 Hz, AC only, 15 amps is required. For
your safety, the dishwasher must be grounded. If there is a malfunction or
breakdown, grounding will reduce risk of electrical shock. This dishwasher has
a power cord with a 3-prong grounding plug. It must be plugged into a mating
3-prong grounding type receptacle, installed and grounded in accordance with
the National Electrical Code and any local codes and ordinances.
Grounding type wall receptacle
Do not under any circumstances cut, remove or bypass the grounding prong
from this plug.
Converting to Built-In
Your portable dishwasher can be converted to a built-in (undercounter) model.
A conversion kit No. 154241302 is required and is available from your local
dealer or distributor. Instructions are included with the kit.
12
