Dynojet power commander III Instruções de instalação - Página 2

Procurar online ou descarregar pdf Instruções de instalação para Acessórios para automóveis Dynojet power commander III. Dynojet power commander III 4 páginas. 2004 kawasaki zx12r
Também para Dynojet power commander III: Instruções de instalação (5 páginas), Instruções de instalação (5 páginas), Manual de instalação (3 páginas), Manual de instalação (3 páginas), Instruções de instalação (4 páginas), Manual de instruções de instalação (3 páginas), Instruções de instalação (3 páginas), Instruções de instalação (3 páginas), Instruções de instalação (3 páginas)
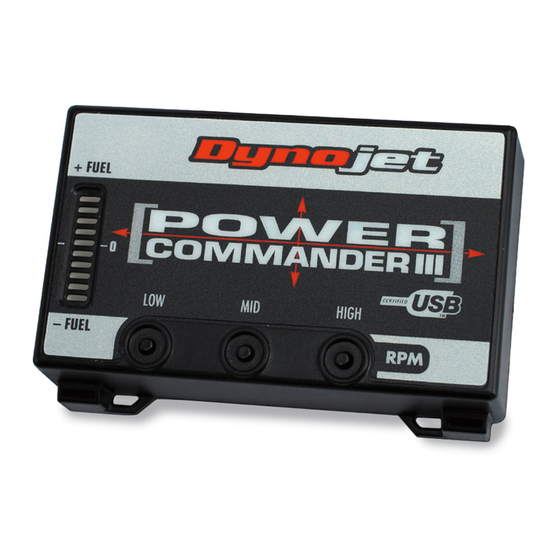
Dynojet power commander III Instruções de instalação
Squeeze this line to remove
PCIII harness
Grommet
PCIII harness
i210-411
www.powercommander.com
Disconnect these lines
Frame tab
1
Remove the main seat and the
passenger seat.
2
Remove the fuel tank
Note: The installation can be done
without removing the fuel tank
but it may be easier to remove
the fuel tank.
3
To remove the fuel line squeeze
the sides of the connector
(Fig. A). Disconnect the two
electrical connectors.
4
Lay the PCIII in the tail section
as shown in Fig. B temporarily.
5
Route the harness towards the
front of the bike. Keep the har-
ness between the frame and the
tail section.
6
Pull the L.H side of the tail
section out of the frame
grommet towards the front of
the tail section (Fig. C).
7
Route the PCIII harness under
the frame tab (Fig. C).
2003 Kawasaki Z1000 - PCIII USB - 2