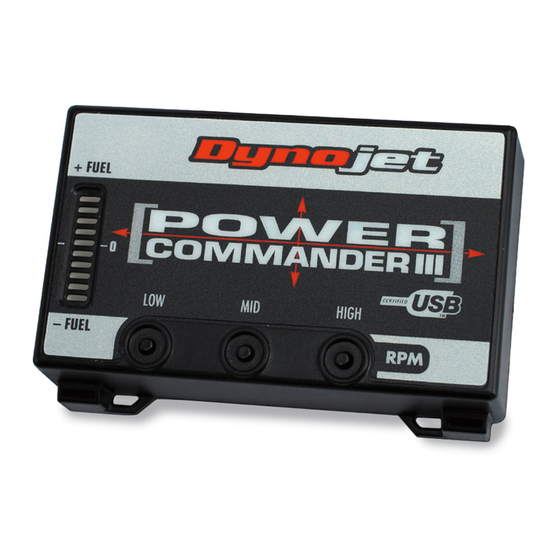
Dynojet power commander III Instruções de instalação - Página 2

Procurar online ou descarregar pdf Instruções de instalação para Acessórios para automóveis Dynojet power commander III. Dynojet power commander III 3 páginas. 2004 kawasaki zx12r
Também para Dynojet power commander III: Instruções de instalação (5 páginas), Instruções de instalação (5 páginas), Manual de instalação (3 páginas), Instruções de instalação (4 páginas), Manual de instalação (3 páginas), Instruções de instalação (4 páginas), Manual de instruções de instalação (3 páginas), Instruções de instalação (3 páginas), Instruções de instalação (3 páginas)

Dynojet power commander III Instruções de instalação
Unplug this connector
Stock connectors
Unplug this connector
i216-411
www.powercommander.com
PCIII connectors
1.
Remove the main seat and
the passenger seat
2
Prop the front of the fuel
tank up.
3
Place the Power
Commander in the tail sec-
tion and route the wiring
harness on the inside of the
tail section towards the front
of the bike.
4
Locate the 16 pin grey con-
nector underneath the fuel
tank (Fig. A). Unplug this
connector.
5
Plug the black connectors
from the PCIII in-line of the
stock grey connectors (Fig.
B).
6.
Locate the 2 pin white con-
nector underneath the fuel
tank towards the rear of the
bike (Fig. C). Unplug this
connector.
2004 Kawasaki ZX12R - PCIII USB - 2