AFL FlexScan TS100 Manual de referência rápida - Página 2
Procurar online ou descarregar pdf Manual de referência rápida para Ferramentas AFL FlexScan TS100. AFL FlexScan TS100 19 páginas. Optical troubleshooter

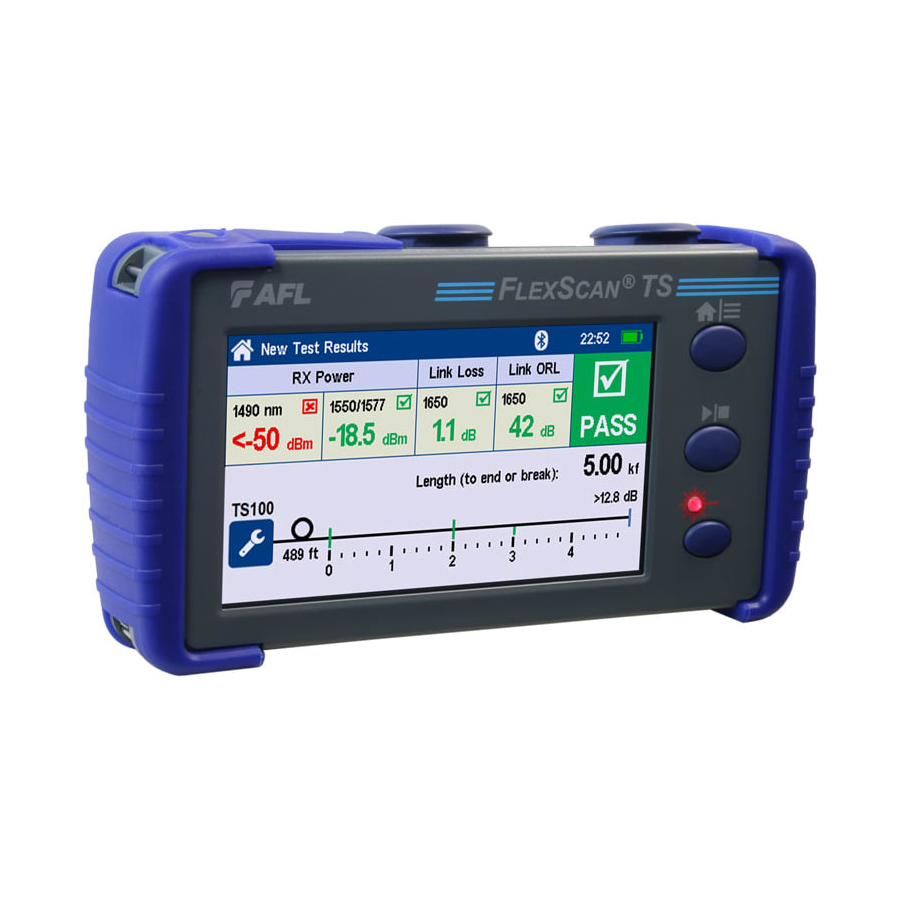
Controls, Display, Interfaces
6
4
3
1
2
5
8
1. Power button
2. Power jack (5 VDC)
3. Charge/AC indicator
4. USB host port
5. Micro-USB function port
6. 1650 nm OTS/OLS/OPM Port
7. VFL port
8. Touchscreen display
9. Home/Menu button
10. Test Start/Stop button
11. VFL button
Battery Charging
Plug the included AC charger into AC outlet.
•
7
Connect charger plug to the Power port.
•
AC/Charger indicator will illuminate to indicate charging status as follows:
•
– RED - Charging battery
– GREEN - Fully charged
– OFF - AC disconnected
– Flashing RED/GREEN = Battery charging halted due to over-temperature.
FlexScan charges while operating.
•
9
A fully-charged battery operates for approximately 12 hours of typical use.
•
10
Understanding Battery Charge Status
When FlexScan is ON, battery icon shown on the display indicates battery status as follows:
11
- Battery fully charged
- Battery partially charged
- Battery nearing empty
- Battery discharged
- Battery charging
Battery fully charged, Battery partially charged, and Battery discharged symbols will only be
shown when unit is operating without being connected to AC.
Configuring FlexScan to Auto-Off
Turn your FlexScan On.
•
From the displayed Home screen, press Home/Menu button to display General Settings
•
menu.
In the Settings menu, locate the Auto Off Timer option.
•
Touch the Auto Off Timer field to display the settings sub-menu.
•
Select the desired power save option (Never, 5 min, 15 min).
•
1
