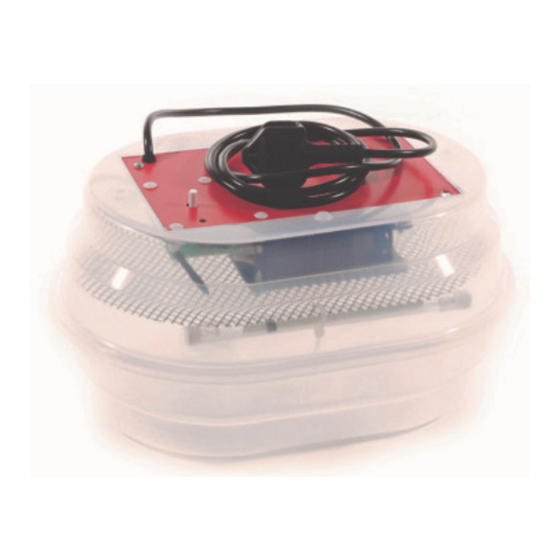
Maino MPS12 Manual do utilizador - Página 4
Procurar online ou descarregar pdf Manual do utilizador para Acessórios Maino MPS12. Maino MPS12 6 páginas.

Plugs: Schuko plug (CEE) or British plug (2 poles + E # 13A fuse – British Standard: BS 1363A/95)
Species
Hen
Duck/Small turkey
Dumb Duck
Goose
Pheasant
Giant Turkey
Grey and Red Leg Partridge
Quail and Pigeon
Incubators used for hatching build up a large amount of chick down, dust and general dirt!. After every hatch
your incubator should be cleaned down. This prevents a build up of disease and prolongs the life of your
incubator components. If you use your incubator as a setter only( i.e. do not hatch in the incubator), then a 3
monthly clean down is advised to prevent a build up of domestic dust on components.
S1.0 Fans
S1.1 R000610 Square Black Fan
1.11 Undo the screws
holding the fan in the
incubator
S2.0 General Cleaning
Don't forget to remove the thermometer first, and place in a safe location. Remove heavy dirt and dust using a clean paint
brush, and/or compressed air from a can or air-line from around the control card, and the element.
Do not get the electrical components wet.
Wash in water the incubator base, and Egg Grid, allowing to dry out thoroughly before reusing. Disinfect as required using
an approved disinfectant.
NEVER SPRAY or wipe Disinfectants into the top of the incubator. Disinfectants are corrosive and
will destroy the coatings protecting the control board, drastically reducing its working life. It is not
necessary to completely sterilise this area of the incubator. The base and Turning tray can be disinfected if
required.
ELECTRIC INCUBATOR FOR ANY TYPE OF EGG
ELECTRICAL FEATURES: 230 Volt AC + 10/-15% @ 50 Hz ± 0.5%
TECHNICAL SPECIFICATIONS:
Days of Incubation
21
28
35-42
28-42
24
28-30
23-24
17
Incubator Servicing
1.12 Remove the label on the
fan to expose rubber stopper /
cover that protects the bearing
brass
Temperature °C
% Incubation
Humidity
37.7
40/45
37.2/37.5
40/45
37.2
40/45
37.2
45/50
37.7
40/45
37.2
40/45
37.7
40/45
37.7
40/45
1.13 Using a screwdriver to
remove the rubber stopper
Move to Hatching
% Hatching
Period After:
Humidity
18 days
60/70
25 days
60/70
31 days
60/70
25 days
60/70
21 days
65/85
25 days
60/70
20 days
60/70
15 days
60/70
1.14 With an oil can, put a
few drops of oil on the brass
bearing and then close with
the rubber stopper.
Reassemble into the
incubator
