Core 40080 Manual de início rápido
Procurar online ou descarregar pdf Manual de início rápido para Tenda Core 40080. Core 40080 2 páginas. 10 x 10 instant canopy with sun wall
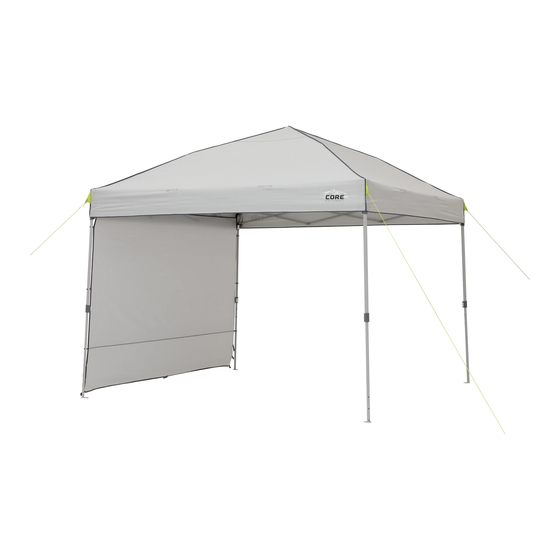
10 x 10 INSTANT CANOPY WITH SUN WALL
Two people can easily setup this shelter in minutes.
Contents & Repair Parts:
Center Hub #90682
Upper Roof Pole #90681
Bracket Joint (1") #91153
Apex Joint #90684
Apex Support Pole
#90679
Bracket Pole 40"
Joint Endcap (2")
#90676A
#90685
1
Extend Shelter Frame
CAUTION: Avoid pinch points when opening or closing the shelter frame.
• Expand and spread out SHELTER FRAME halfway.
STEEL SHELTER FRAME
2
Attach Canopy
• Unfold CANOPY then drape over SHELTER FRAME with corners position-
ed over SHELTER LEGS.
• Locate HOOK & LOOP FASTENER on underside of the corner of the
CANOPY; then attach to material located at the top of the STEEL SHELTER
LEG.
• Repeat for remaining 3 corners of the CANOPY.
CANOPY
STEEL SHELTER LEGS
3
Raising Roof Support Brackets
• To fi nish expanding the frame, grasp the LEG POLE and push up on the
ROOF SUPPORT BRACKET until the GRAY BUTTON "clicks" into locked
position.
• Repeat for remaining 3 ROOF SUPPORT BRACKETS to fully raise the
Roof Joint #90683
ROOF PEAK.
Lower Roof Pole
#90680
Shelter Leg
Outside
#91154
Bracket
Pole
#90676B
Not Pictured:
Sun Wall #40104
Stakes #90674
Canopy Top #91499
4
Telescoping Steel Frame Legs
Carry Bag #91500
• Place foot on the LEG FOOT; then grasp and extend the TELESCOPING
LEG POLE until the LOCKING BUTTON "clicks" into locked position.
• Repeat for remaining 3 LEG POLES.
NOTE: When telescoping the legs, the LOCKING BUTTON will lock in the
lowest setting fi rst. Push in the LOCKING BUTTON and extend the leg
further to desired shelter height.
LOCKING
BUTTON
LEG FOOT
5
Secure Canopy to Frame
• Locate HOOK & LOOP FASTENERS along the seam of the underside of the
CANOPY; then wrap around METAL BRACKET to secure.
• Repeat for remaining 3 sides of the shelter CANOPY.
STEEL
HOOK & LOOP
SHELTER LEG
FASTENERS
UNDERSIDE
OF CANOPY
STITCH LINE
ROOF PEAK
SUPPORT
BRACKET
GRAY
BUTTON
3-Stage Height
Adjustability
LOW
MEDIUM
HIGH
METAL BRACKET
HOOK & LOOP
FASTENER
Model No. 40080
5
Secure Canopy to Frame
(continued)
• Position the shelter in its fi nal position before securing with stakes and
guylines.
Attach Sun Wall
6
NOTE: The Sun Wall may be attached to any of the 4 sides of the Instant
Canopy.
• Clip J-HOOK located at each top corner of the Sun Wall onto the METAL
LOOP at the top of the LEG POLES. (Detail 1)
• Wrap J-HOOK and D-RING on STRAPS located at top of Sun Wall
around TOP FRAME to secure. (Detail 2)
• Wrap J-HOOK and D-RING on STRAPS located along one side of the
Sun Wall around LEG POLE to secure. (Detail 3)
• Clip one of the two J-HOOKS located near the bottom edge of the Sun
Wall into the hole in the lower LEG POLE. Use the lower J-HOOK (A)
when the LEG POLE is fully extended and J-HOOK (B) for lower LEG
POLE height setting. (Detail 4)
• Repeat above steps to secure other side of the Sun Wall.
• Place METAL STAKE through the WEB STRAP located at each bottom
corner and center of the Sun Wall then drive in to secure. (Detail 5)
1
2
4
(continued on other side)
3
B
5
A