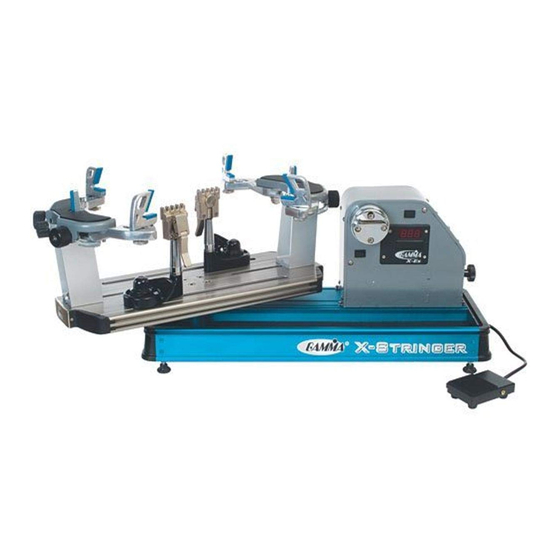
Gamma X-ES Manual do Proprietário - Página 14
Procurar online ou descarregar pdf Manual do Proprietário para Máquinas de encordoar Gamma X-ES. Gamma X-ES 19 páginas.

- 1. Table of Contents
- 2. Gamma X-Es Gamma X-Es Gamma X-Es Gamma X-Es
- 3. Features
- 4. Assembly Instructions
- 5. Power Connection & Controls
- 6. Mounting the Frame
- 7. Stringing the Frame
- 8. Additional Features
- 9. Pathfinder Awl
- 10. Maintenance and Adjustments
- 11. Troubleshooting Tips
- 12. Parts List
- 13. Parts Drawing
MAINTENANCE and ADJUSTMENTS
counter clockwise to open the gap between the jaws. The clamp jaws should be cleaned
periodically to be free from dirt, oil, and any string coating for them to grip properly. Knife
sharpening stones are excellent for removing build-up on the diamond coated surfaces and
are available.
Note: The string clamps supplied with your stringing machine can accomodate tight string
patterns such as badminton. Depending on the string pattern, the clamp may spread the strings
slightly which will not compromise the quality of the string job. String clamps designed
specifically for badminton racquets are available.
Closed Position
Adjusting the String Clamp Jaw Spacing
The string clamps will need minor adjustments according
to what string type, construction, and gauge you are
using.
To adjust the gap (clamping pressure) between the clamp
jaws, insert the string through the racquet as if you were
beginning the main strings. Clamp the strings and pull
tension. If the string slips through the jaws of the clamp,
tighten the clamp by compressing the clamp jaws to-
gether by hand while turning the Adjustment Knob, in the
Adjustment
clockwise direction. If the clamp leaves impressions or
Knob
damages the string, it may be excessively tight and
should be adjusted by turning the Adjustment Knob
Open Position
String Clamp Base Adjustment
The string clamp bases do not require ad-
justment. The simple "Lever Bolt & Nut"
design, provides maximum flexibility for pro-
viding clamping pressure to the turntable
and running clearance for repositioning.
Approximately 1/2 turn is all that is need to
lock and release the clamp base from the
turntable.
NOTE: Do not attempt to adjust the clamp
base using the attachment nut on the under-
side of the clamp.
Turntable Bushing Adjustment
The turntable bushing is adjusted at the
factory for optimum performance. After time
and use, the turntable bushings may need
minor adjustment. An adjustment is indi-
cated when noticeable turntable looseness
or wobble occurs while stringing.
To adjust the fit between the turntable pin
and the bushings, tighten the set screw at
the top of the bushing using a 3mm hex
wrench. Tighten until the turntable rotates
smoothly without excessive free play.
13
