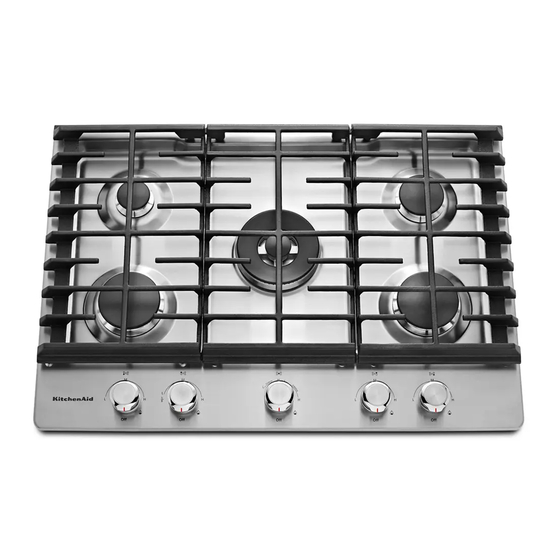
KitchenAid KCGS356ESS Manual do utilizador - Página 3
Procurar online ou descarregar pdf Manual do utilizador para Placa de fogão KitchenAid KCGS356ESS. KitchenAid KCGS356ESS 9 páginas. Gas cooktop
Também para KitchenAid KCGS356ESS: Manual do utilizador (17 páginas), Manual do utilizador (16 páginas), Manual de início rápido (2 páginas)

- 1. User Guide
- 2. Gas Cooktop
- 3. Lighting the Burners
- 4. Important Safety Instructions
- 5. Key Usage Tips
- 6. Lp Gas Conversion
- 7. Placement of Burner Heads and Caps
- 8. Assembling Your Cooktop
- 9. Assembling the Burners
- 10. Grate Placement
- 11. Cooktop Burners
- 12. Cooktop Features
- 13. Care and Cleaning
- 14. Cooking with Your Cooktop
- 15. Problem Solver
- 16. Kitchenaid Cooktop Limited Warranty
Assembling the Burners
Check your model number. Then refer to the following for information specific to your burners
A
B
E
KCGS350ESS and KCGS356ESS
A. Standard burner
B. Dual flame burner
C. Standard burner
(Even-Heat™ simmer)
D. Standard burner
E. Standard burner
Standard and Dual Flame Burners
Burner caps and spreaders are included with your cooktop.
I
Always match the burner spreader size to the cap size.
I
Always line up the hole in the spreader to the electrode.
I
The cooktop comes with an extra Melt cap. This is a large cap with
I
"MELT" and "FOR SMALLEST BURNER" printed on it. Use this cap
over the small burners, position C on KGCS3 series models and
position A on KCGS5 series and KCGS9 series models
Standard and dual flame burners are similar in assembly. Note that
I
there is no hole in the dual flame burner spreader to insert the
electrode. The stacked burner electrode (C) aligns with the
semicircle notch in the spreader (B).
A
B
C
Standard Burner
A. Cap
B. Spreader
C. Electrode
Dual Tier Ultra and Even-Heat™ Torch Burners
Install the outer and inner caps on the dual tier ultra burner.
I
A
B
Dual Tier Ultra Burner
A. Inner cap
B. Outer cap
ASSEMBLING YOUR COOKTOP
C
A
D
E
KCGS550ESS and KCGS556ESS
A. Standard burner
(Even-Heat™ simmer)
B. Dual tier ultra burner
C. Standard burner
D. Standard burner
E. Standard burner
A
B
C
Dual Flame Burner
A. Cap
B. Spreader
C. Electrode
.
B
C
D
Install the outer spreader, inner spreader, and inner cap on the
I
Even-Heat™ burner.
IMPORTANT: Align the notches in the inner spreader with the tabs
on the Even-Heat™ burner.
A
B
C
Even-Heat™ Burner
A. Inner cap
B. Inner spreader
C. Outer spreader
The cooktop comes with 2 small burner caps, one for the dual tier
I
ultra burner and one for the Even-Heat™ torch burner. Note the
differences in the small burner caps:
- the small dual tier ultra burner cap is thin and hollow.
- the small Even-Heat™ torch burner cap is thick and solid.
A. Small dual tier ultra burner cap
(center burner)
B. Small Even-Heat™ torch
burner cap (right front burner)
3
A
B
E
KCGS950ESS and KCGS956ESS
A. Standard burner
(Even-Heat™ simmer)
B. Dual tier ultra burner
C. Standard burner
D. Even-Heat™ torch burner
E. Standard burner
Inner Spreader
A. Inner spreader
notch
B. Burner tabs
A
B
C
D
A
B
