Green Energy GECI Manual do utilizador - Página 10
Procurar online ou descarregar pdf Manual do utilizador para Carregador de bateria Green Energy GECI. Green Energy GECI 15 páginas. Black diamond charger
DESULFATION
The operator can every time interrupt the standard charging and enable with a easy procedure a special desulfation
cycle. During the charging the operator can press Enter few seconds and the display shows a desulfation menu, in this menu
the operator can select the time during of desulfation and the type of restart of desulfation, in fact sometimes it is
strategic important to complete a standard charging after a completed desulfation cycle.
REFRESH-MAINTENANCE
This function is useful to keep the battery in perfect condition when it's not used for an long period (weeks, months, ...).
It is sufficient to leave the battery connected to the charger. After a normal termination of the charge and the equalize cycle,
the control board will activate the charger automatically for 15 minutes of refresh charge every day.
While the charger waits before to activate a Refresh cycle, the display shows the messages:
•
Battery Voltage
•
Nr of Refresh cycles already given to the battery
•
Total Time of Charge
•
Total Capacity Returned
During cycle Refresh, the display shows the same set of information that are visualized during the normal charge cycle.
DISCONNECTION OF THE BATTERY DURING THE CHARGE
>>>WARNING !<<<
DON'T DISCONNECT THE BATTERY DURING THE CHARGE. RISK OF EXPLOSION!!!
If it's necessary to disconnect the battery while it's being charged, press the button UP for five seconds, in
order to stop the charger manually.
The charger will suspend the charge and the display will show the message:
At this time it's possible to disconnect the battery.
Eventually, the charge can be restarted, by pressing the button UP for 5 seconds.
When a battery ID module is installed on a battery for the first time, it must be initialized and programmed, by following
this procedure. Connect the battery to a AR-TOP charger (the Battery Recognition mode
must be set to BATTERY ID MODULE or OPTIONAL). The AR-TOP charger will establish
a communication with the New Battery ID module, and it will show the message:
At this point, using the UP/DOWN buttons, it's possible to edit the battery ID information:
•
ID Number (8 alphanumeric digits, to be confirmed individually by pressing ENTER for 3 seconds)
•
Nominal Voltage
•
Capacity
•
Type
Once all the parameters are set correctly, push the buttons UP+DOWN Simultaneously
in order to save the data to the ID module. The programming sequence may take up to
3 minutes, while the charger display will show the message:
[Volt]
[hours.minutes]
[Ah]
GECI
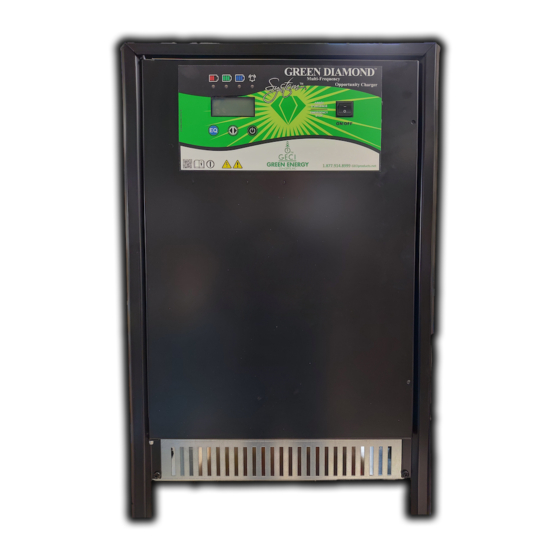
BLACK DIAMOND CHARGER
™
PROGRAMMING BATTERY ID MODULE
REFRESH-MAINTENANCE
This function is useful to keep the battery in perfect condition when it's not
period (weeks, months, ...).
It is sufficient to leave the battery connected to the charger. After a normal
REFRESH-MAINTENANCE
charge and the equalize cycle, the control board will activate the charger
This function is useful to keep the battery in perfect condition when it's not
15 minutes of refresh charge every day.
period (weeks, months, ...).
While the charger waits before to activate a Refresh cycle, the display show
It is sufficient to leave the battery connected to the charger. After a normal
charge and the equalize cycle, the control board will activate the charger
15 minutes of refresh charge every day.
While the charger waits before to activate a Refresh cycle, the display show
Battery Voltage
•
Nr of Refresh cycles already given to the battery
•
Total Time of Charge
•
Total Capacity Returned
•
Battery Voltage
During cycle Refresh, the display shows the same set of information that are
•
Nr of Refresh cycles already given to the battery
during the normal charge cycle.
•
Total Time of Charge
•
Total Capacity Returned
•
DISCONNECTION OF THE BATTERY DURING THE CHARGE
During cycle Refresh, the display shows the same set of information that are
during the normal charge cycle.
DON'T DISCONNET THE BATTERY DURING THE C
DISCONNECTION OF THE BATTERY DURING THE CHARGE
DON'T DISCONNET THE BATTERY DURING THE C
If it's necessary to disconnect the battery while it's being charge
button UP for five seconds, in order to stop the charger ma
The charger will suspend the charge and the display will show the message
If it's necessary to disconnect the battery while it's being charge
button UP for five seconds, in order to stop the charger ma
The charger will suspend the charge and the display will show the message
5. PROGRAMMING BATTERY ID MODUL
5. PROGRAMMING BATTERY ID MODUL
At this time it's possible to disconnect the battery.
When a battery ID module is installed on a battery for the first time, it must be initialized a
Eventually, the charge can be restarted, by pressing the button UP for 5 sec
following this procedure.
Connect the battery to a AR-TOP charger (the Battery Recognition mode must be se
When a battery ID module is installed on a battery for the first time, it must be initialized a
At this time it's possible to disconnect the battery.
MODULE or OPTIONAL).
following this procedure.
Eventually, the charge can be restarted, by pressing the button UP for 5 sec
The AR-TOP charger will establish a communication with the New Battery ID module, a
Connect the battery to a AR-TOP charger (the Battery Recognition mode must be se
message:
MODULE or OPTIONAL).
The AR-TOP charger will establish a communication with the New Battery ID module, a
message:
At this point, using the UP/DOWN buttons, it's possible to edit the battery ID information:
ID Number
(8 alphanumeric digits, to be confirmed
•
individually by pressing ENTER for 3 seconds)
At this point, using the UP/DOWN buttons, it's possible to edit the battery ID information:
Nominal Voltage
•
Capacity
ID Number
(8 alphanumeric digits, to be confirmed
•
•
Type
individually by pressing ENTER for 3 seconds)
•
Nominal Voltage
•
Once all the parameters are set correctly, push the buttons UP+DOWN Simultaneously
Capacity
•
data to the ID module.
Type
•
The programming sequence may take up to 3 minutes, while the charger display will show t
Once all the parameters are set correctly, push the buttons UP+DOWN Simultaneously
data to the ID module.
The programming sequence may take up to 3 minutes, while the charger display will show t
When the programming sequence is completed, the display will show the message:
[V.140 – January 2011]
[V.140 – January 2011]
xx.x V
R.END NR
xxx Ah
x.x t
xx.x V
R.END NR
[Volt]
xxx Ah
x.x t
[hours.minutes]
[Ah]
[Volt]
[hours.minutes]
[Ah]
WARNING !
RISK OF EXPLOSION!!!
WARNING !
RISK OF EXPLOSION!!!
[V.140 – January 2011]
MANUAL
[V.140 – January 2011]
STOP
MANUAL
STOP
Page 20/28
BATT ID MODULE
Page 20/28
CONNECTED
BATT ID MODULE
CONNECTED
BATT ID MODULE
PROGRAMMING...
BATT ID MODULE
PROGRAMMING...
IBCI B
IBCI B
IBCI B
IBCI B