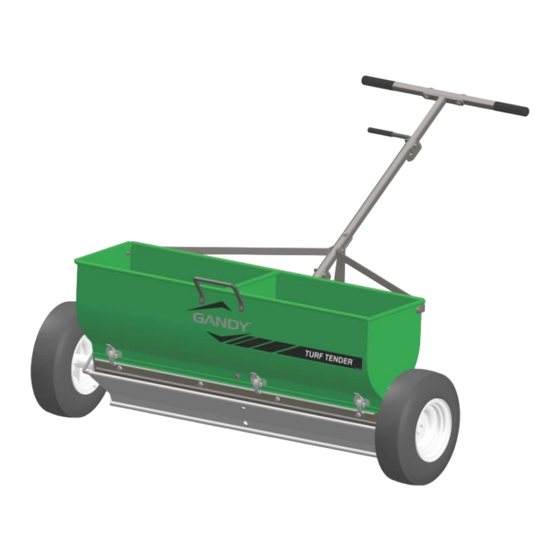
Gandy 36T13 Manual do operador - Página 9
Procurar online ou descarregar pdf Manual do operador para Espalhador Gandy 36T13. Gandy 36T13 10 páginas. 24” & 36” spreaders
Também para Gandy 36T13: Manual do operador (8 páginas), Manual de peças e montagem (17 páginas)

5. Note: Be careful when handling the bottom & slide so you do not drop, bend, or dent it.
With the bottom & slide disassembled wipe or wash these parts clean.
If any rust or corrosion has formed on these parts it should be removed.
(Fine steel wool or a fine scotch-bright pad & WD40 or similar products will work.)
Make sure all parts are dry and all oil removed before reassembling.
Do not oil or grease the bottom & slide. This will cause material to collect or stick in between the bottom &
slide and cause it to slide harder and/or bind up.
6. Bottom reassembly.
Hook slide to the front hanger as shown in Diagram H and pivot onto bottom.
Hook rear hanger under lip of slide. Align the studs with straight up and down area of the slots on rear
hanger and pivot into the bottom as shown in Diagram J.
With a small hammer gently tap on the end of the rear hanger as shown until the rear hanger matches the
dimension you took from Step #4, Diagram D. See Diagram K.
Reinstall the nylon washers and 3/16" flange nuts to all studs. Be careful when tightening flange nut as to
not over tighten and twist off.
Note: You should be able to move the slide by hand. If you cannot move the slide by hand loosen the
3/16" flange nuts and slightly tap the rear hanger the opposite direction as shown in Diagram K, tighten
the 3/16" nuts and try to slide by hand again. Repeat this process if needed.
Reinstall the cam gauge, washer & wing nut.
Reassemble bottom on spreader.
Diagram H
Diagram K
Diagram J
~7 ~
OPP-36-24-A1
