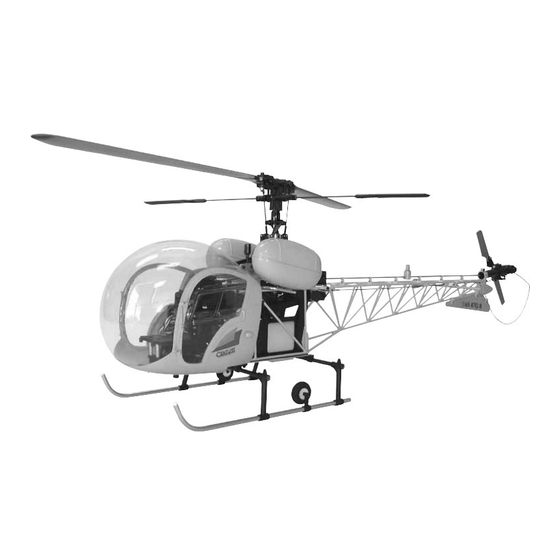
Century Helicopter Products Bell 47G II ARF Helicopter Manual - Página 7
Procurar online ou descarregar pdf Manual para Brinquedo Century Helicopter Products Bell 47G II ARF Helicopter. Century Helicopter Products Bell 47G II ARF Helicopter 15 páginas.

STEP 4 Drilling Components
STEP 4 Drilling Components
STEP 4 Drilling Components
STEP 4 Drilling Components
STEP 4 Drilling Components
Hinges and door pivot locks must be drilled when on the sheet material. Follow the chart for hole size by part. As
these parts are small, extra pieces are provided in case of accidental damage, it is best that all components are
prepared at this time.
STEP 5 Trimming Components
STEP 5 Trimming Components
STEP 5 Trimming Components
STEP 5 Trimming Components
STEP 5 Trimming Components
After the parts are drilled, divide the sheet parts
with heavy shears and then using a straight routing
bit in a moto-tool trim each part leaving 1/32" of
material on each part. Use a flat file for the hori-
zontal fin end caps and vertical fin, use a needle
file for the small parts to shape to final size.
STEP 6 Mounting Hinges
STEP 6 Mounting Hinges
STEP 6 Mounting Hinges
STEP 6 Mounting Hinges
STEP 6 Mounting Hinges
Hinge order is important, left door top #3, bottom #1, left cabin top #4, bottom #2. Right door top #1, bottom #3,
right cabin top #2, bottom #4. Attach each door hinge using two M1.4x5 Round Head Phillips Screws and two
M1.4 Hex Nuts from the inside. Attach each cabin hinge using two M1.4x6 Flat Head Phillips Screws and two
M1.4 Hex Nuts. When mounting the hinges on the doors and the cabin the ears of the hinge point toward the
front. Also, test fit each door to its side as some slight filing of the slot in the door may be necessary for a good fit
and note that the door hinges mount on top of the cabin hinges. After each bolt is secured, apply a single drop of
locktight to each nut.
Doors are knotched to
be able to swing open.
When the door is closed
it will overlap the cabin
door opening and remain
on the outside.
M1.4x5 Round Head
Phillips Screws x 8
M1.4 Hex Nut x 8
[CN1074-8]
Door hinges have
straight holes.
6
Left Door
Location
Pivot lock wire holes
Pivot lock center hole
Hinge holes
Horizontal Fin (1/2 depth)
Hinge holes on doors
Hinge holes on cabin
Pivot lock hole on doors
Door handle holes on door 1.8mm [0.071"]
Vertical fin
Tail Light Mount
Tail fins,
strobe light,
hinges & acc.
[CN1074-5]
M1.4x6 Flat Head
Phillips Screws x 8
M1.4 Hex Nut x 8
[CN1074-8]
Cabin hinges have
counter sunk holes.
As in the case with the
fiberglass components,
extra hardware is
provided for conve-
nience if a fasterener is
lost or damaged.
Bell47G II Detail Manual
Bell47G II Detail Manual
Bell47G II Detail Manual
Bell47G II Detail Manual
Bell47G II Detail Manual
Drill Bit Size
Req'd
0.8mm [1/32"]
1.5mm [1/16"]
"
"
"
"
"
2.0mm [0.079"]
3.0mm [0.125"]
Right Cabin Door Opening
4
2
12
4
8
8
2
2
3
1
