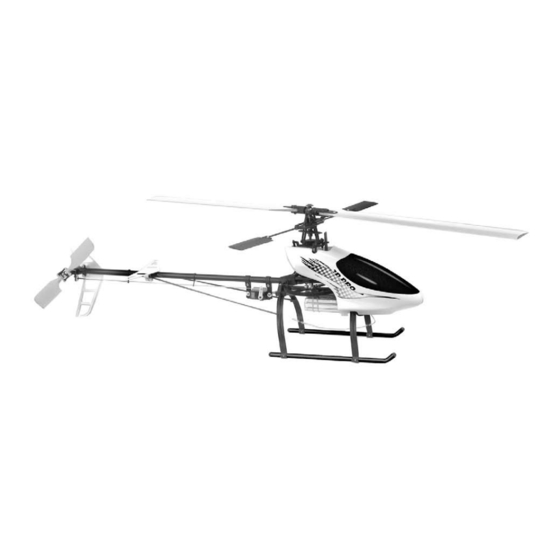
Century Helicopter Products Hummingbird Elite 3D Pro Manual de instruções - Página 3
Procurar online ou descarregar pdf Manual de instruções para Brinquedo Century Helicopter Products Hummingbird Elite 3D Pro. Century Helicopter Products Hummingbird Elite 3D Pro 10 páginas.
Também para Century Helicopter Products Hummingbird Elite 3D Pro: Manual de montagem e de instruções (12 páginas)

Section 1
CHECKING OVER THE MODEL / EXTRAS
Before beginning, check the kit contents. This is a good time to check the "required
items" section on page 2 and make sure everything necessary is on hand for assembly.
Brass motor connectors included only in helicopter with motor combos.
Important: High Performance Machine:
Check your model before assembling. Check all fasteners
and mechanics for tightness and symmetry before flying
your helicopter. Be sure to inspect the model after every
flight as a safety precaution.
INITIAL MECHANICAL ADJUSTMENTS
The Hummingbird 3D Pro series flybar and main blades
must be set properly after removing from the package.
1. Slide the flybar until it is centered in the rotor head
having equal length on each side.
2. Tighten the two set screws in the flybar control arms to
secure the flybar. Flybar paddles must be parallel to each
other and the ground when the swashplate is level. Make
sure the screw head in each paddle faces upwards.
3. Install the main rotor blades for clockwise rotation
(thick portion of blades are LEADING edge). Use a con-
servative amount of pressure when installing the blade
bolts. The blade tension should be medium and equal on
both grips.
4. Remove the canopy and set aside. You will not need
the canopy until the end of the setup process.
USING ADHESIVES TO SECURE THE MODEL
Check over loose non-moving areas of the helicopter.
Secure any loose connections using the adhesive of
your choice. Using CA (cyanoacrylate) glue is very
effective but difficult to debond for maintenance.
Household white glue, although not as strong, works
well and is easier to disassemble later.
Warning!
Only use double sided servo tape for mounting your
electronics. Glue will damage servos and electronics.
Section 2
ELECTRONIC CONNECTION OVERVIEW
This diagram represents the overall
connections for wiring the Humming-
bird Elite 3D Pro correctly (if using Fu-
taba or Hitec). This diagram includes
the separate connections pictured on
the following page.
Warning!
Keep electronics from
becoming exposed to
glue, moisture or extreme
temperatures to ensure
proper operation.
Your New Elite 3D Pro Helicopter
Connection And Diagnostics For The Electronic
(S)signal, (+)Positive, (-)Negative
See receiver instructions for detail.
Aileron
Servo
Brushless
Elevator
Motor
Servo
Brushless
Controller
Getting Started
1
Slide
flybar
2
Leading edge
Glue
Components
s + -
When
connecting
the 'Century'
gyro the
orange signal
wires must
face each
other. Other
gyros may
vary.
Some items that are packaged with the
helicopter are not attached to the helicop-
ter. This will include main blades and bolts,
antenna tube, tools, servo tape and some
fasteners including zip ties for servo wires
and elastic (red) and heavy duty (black)
battery fastener bands. One bag may have
two small a washers and two short phillips
screws. This hardware is not used on 3D
PRO (used on CN1010 & CN1011 CP/FP).
2
4
Glue
Glue
Pitch Servo
(collective
pitch)
Rudder
Servo
Gyro
flybar
paddle
Battery
3
