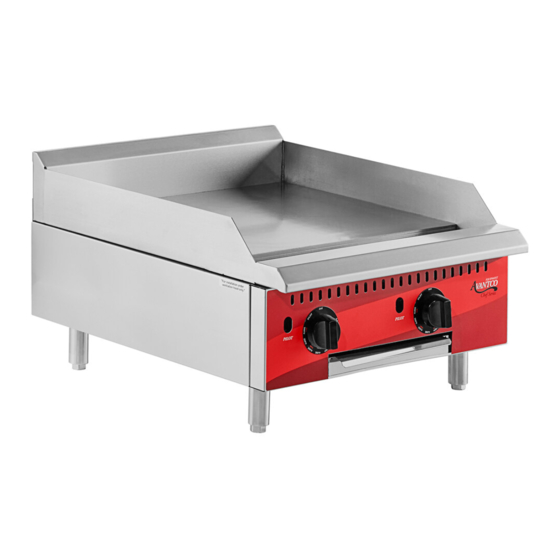
Avantco 177CAG36RC Manual do utilizador - Página 6
Procurar online ou descarregar pdf Manual do utilizador para Equipamento comercial para alimentos Avantco 177CAG36RC. Avantco 177CAG36RC 15 páginas. Commercial countertop griddles, charbroilers & ranges

User Manual
COUNTERTOP RADIANT GAS CHARBROILER
For conversion the following guidelines should be followed:
1 . Close the manual gas valve and disconnect the product from the
gas network, making sure that there is no leakage. Then remove the
pressure regulator from the gas inlet on the product to make work easier.
2 . Remove the waste drawer (1), knobs (2) from the product and then
remove the panel (3) by removing the two screws located at the bottom
of the panel with the aid of a double screwdriver and detaching the
upper panel fittings on the product.
3 . Remove the removable grilles (9), the deflectors (8) and the welded
structure set (7).For this, extreme care must be taken, as physical
injuries or serious damage can occur.
4 . To remove the distributor tube assembly, remove the
screws that secure the distributor tube assembly(4)
to the front support with the aid of a double screwdriver.
5 . Remove the injectors (5) with a 1/2" wrench.
6 . In place of the removed gas injectors (3), place the
new injectors that are included with the kit shipped
with the product. But first apply some pipe sealant
to the valve thread and then screw-in the new injectors
to the correct gas type.
7 . Once the gas injectors are changed, reassemble
your product (6).
COUNTERTOP GAS HOT PLATE
For conversion the following guidelines should be followed:
1 . Close the manual gas valve and disconnect the product
from the gas network, making sure that there is no leakage.
Then remove the pressure regulator from the gas inlet on the
product to make work easier.
2 . Remove grills (1) and burners (2).
3 . Remove the injectors (3) with a 1/2" wrench.
4 . In place of the removed gas injectors (3), place the new
injectors that are included with the kit shipped with the
product. But first apply some pipe sealant to the valve thread
and then screw-in the new injectors to the correct gas type.
5 . Once the gas injectors (3) are changed, reassemble your
product (4).
10
LGP Gas Installation at Low Pressure
To use the product with LPG gas at low pressure, it is necessary that the product is checked with
the injector for use of LPG gas, if it is not with the appropriate injector, the gas conversion should be
performed following the steps described in item 2.5 of this manual.
The installation of low pressure LPG gas must be carried out in a gas station distant from the
equipment used.
A first stage (first) regulating valve with an inlet of 7 kgf/cm2 and an outlet pressure of 1.2 kgf/cm2
is installed on site, placing copper or carbon steel piping as a gas conductor to the equipment
seamless. Install at the end, next to the equipment a second 2° (second) stage valve with inlet
pressure of 1.2 kgf /cm2 and outlet pressure of 2.8 kPa or 280mmc.a.H2O.
Using a certified hose, connect the valve directly to the pressure regulator at the gas inlet at the rear
of the product, securing both ends with clamps to both the 2nd stage valve and the equipment.
Note: If in doubt consult the legislation in force in your state/ municipality.
Gas Leak Check
Before lighting the equipment and putting it into operation, check all gaskets on the gas supply line
for leaks. For this, do not use any type of wrench to check for leaks, use a sudsy soap and water
solution.
Follow the steps below for the correct procedure to power on:
1 . Turn pilot valves to OFF position by turning adjusting screws clockwise.
2 . Turn on the manual gas valve on the inlet side of the gas supply line.
3 . Check for gas leaks at the flexible coupling or gas connector connection using a soap solution.
4 . In moderation, spray or scrub the solution with soap on gas connections - active bubbling indicates the
5 . If a gas leak is detected, turn off the manual gas valve at the inlet side of the gas line. Call your certified
6 . If the equipment has no gas leak, continue with the equipment operating instruction.
www.AvantcoEquipment.com
www.AvantcoEquipment.com
IMPORTANT
!
Keep cylinders always upright (standing) and never horizontal (lying down).
location of the gas leak.
and licensed service technician.
User Manual
11
