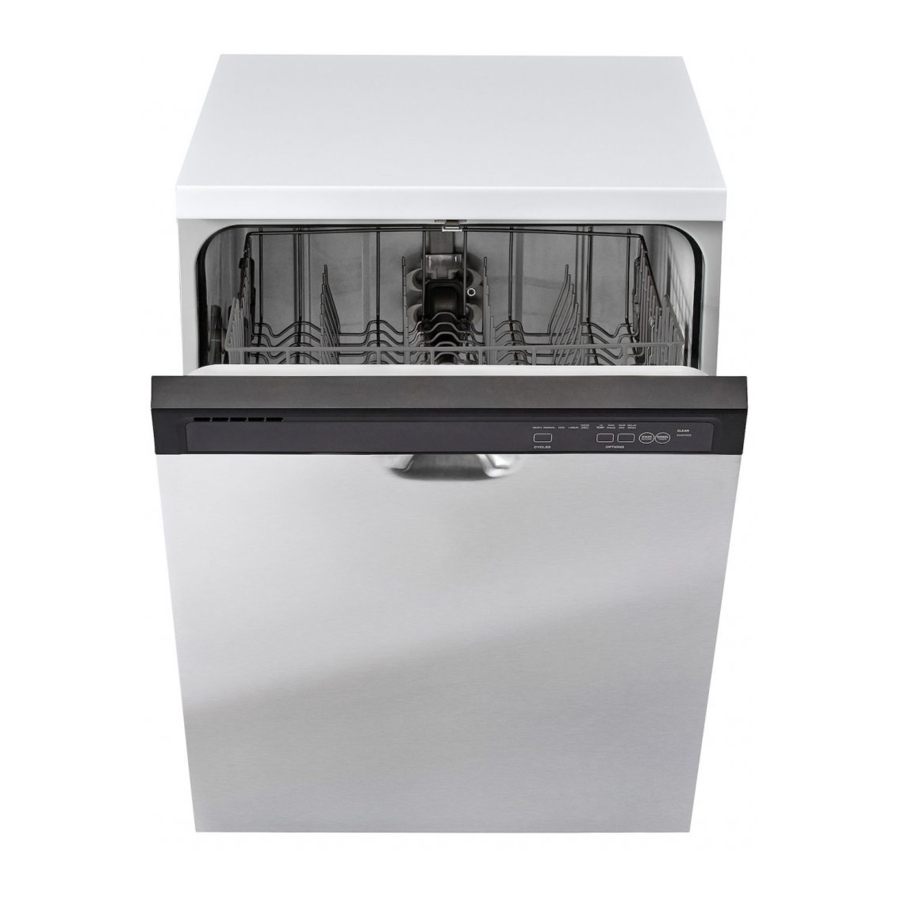
IKEA RENLIG DW60 Manual do utilizador - Página 14
Procurar online ou descarregar pdf Manual do utilizador para Máquina de lavar loiça IKEA RENLIG DW60. IKEA RENLIG DW60 24 páginas. Renlig
Também para IKEA RENLIG DW60: Manual do utilizador (28 páginas), Manual do utilizador (24 páginas), Manual de configuração (16 páginas)

ENGLISH
What to do if ...
If a fault occurs, before contacting the After-sales Service, make the following
checks to try and remedy the problem.
Most faults can be remedied by taking the following courses of action, quickly
restoring normal appliance operation.
The appliance...
...is not working/will not start
...the CANCEL/Off indicator
lamp blinks 6 times
...the CANCEL/Off indicator
lamp blinks 6 times/wash
program ended too early
(dishes are dirty and wet)
...the CANCEL/Off indicator
lamp blinks 8 times
Possible causes...
- The appliance must be
switched on.
- The dishwasher door
doesn't close
- Delayed start option is
ON.
- Water tap closed.
- Kinked water inlet hose or
clogged inlet filters.
- Water pressure too low.
- Dirty or clogged filters.
- Too little water in the
dishwasher's water
system.
- Drain hose incorrectly
fitted.
- High level of foam inside.
- Dirty filters.
- Kinked drain hose
- Syphon hose connection
closed.
Solutions...
- Check the household circuit fuse
if there is no power supply.
- Check if the dishwasher's door
is closed.
- Check whether the "Delayed
Start" option (if available) has
been selected. If it has, the
appliance will only start once
the set time has elapsed. If
necessary, set the delayed start
to "0" (RESET the appliance).
- The water tap must be open.
- The water inlet hose must not
be kinked and the relative inlet
filter in the water tap connector
must not be dirty or clogged.
- The water tap must be fully
open during water inlet
(minimum capacity: 0,5 liters per
minute).
- The filters must not be dirty or
clogged.
- Concave items (e.g. Bowls,
cups) must be arranged facing
downwards in the rack.
- The drain hose must be fitted
correctly (for high mounted
appliances, leave min. 200-400
mm from the lower edge of
the appliance) - see Assembly
Instruction.
- Repeat without detergent or
wait until foam disappears.
- Clean the filters.
- The drain hose must not be
kinked.
- The closure disk of the syphon
hose connection must be
removed.
14
