Jamara CCX Lipo 2,4 GHz 3 CH Instrução - Página 8
Procurar online ou descarregar pdf Instrução para Transmissor Jamara CCX Lipo 2,4 GHz 3 CH. Jamara CCX Lipo 2,4 GHz 3 CH 12 páginas.
Também para Jamara CCX Lipo 2,4 GHz 3 CH: Manual de instruções (12 páginas), Instrução (8 páginas)
IT - Allacciare la trasmittente alla ricevente
In un moderno sistema di 2,4 GHz, è indispensabile che la tras-
mittente e la ricevente vengano connesse insieme a bordo del
modello. La ricevente accetta quindi solo i segnali della trasmit-
tente. Se per qualsiasi motivo si dovesse effettuare un nuovo
allacciamento "connessione", eseguire le seguenti operazioni:
A. Sostituire nella trasmettente le batterie scariche con altre
cariche o nuove. Lasciare spenta la trasmettente.
B. Inserire la spina di accoppiamento in dotazione nell'uscita del
canale 3.
C. Accendere la ricevente, collegando le batterie alla stessa
ricevente. Il LED della ricevente inizia a lampeggiare,
indicando che la ricevente è pronta in modus "connessione".
D. Tenere premuto il pulsante di connessione sulla trasmittente,
mentre si accende la stessa.
E. Il LED della ricevente inizia a lampeggiare, indicando che la
ricevente è pronta in modus "connessione".
F. Rilasciare il pulsante di connessione della trasmettente e
rimuovere la spina di connessione nella ricevente. Spegnere
la ricevente e la trasmittente.
G. Ora spegnere il trasmettitore. L'impianto è in la prossima
volta che si accende legato.
H. Installare correttamente tutti gli accessori e controllare con
molta attenzione.
I. Se la funzione non avesse successo, ripetere la procedura di
connessione.
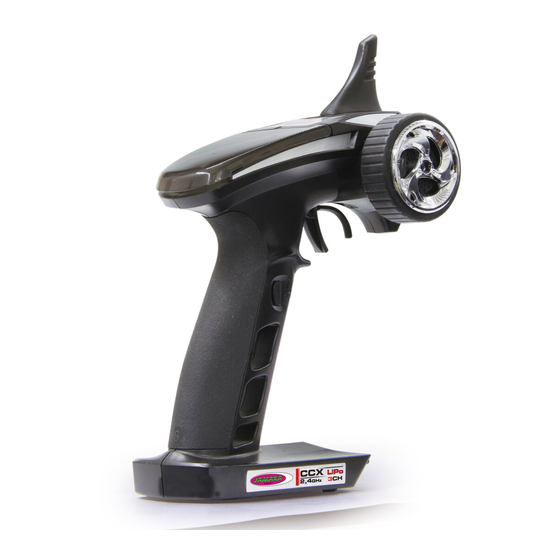
L'illustrazione seguente mostra graficamente il processo di con-
nessione e specifica gli elementi da utilizzare.
8
Pulsante collega-
mento Binde
Binding button
GB - Binding the receiber to the transmitter
As with all modern 2.4GHz R/C systems the receiver must be
bound to the transmitter to ensure that the receiver will only react
to signals from that transmitter.
If you wish to re-bind the receiver with the transmitter please pro-
ceed as follows:
A. Ensure that the transmitter is fitted with fully charged
batterie and leave the transmitter off.
B. Plug the binding plug (included) into the channel 3 socket on
the receiver.
C. Switch the receiver system on by connecting the battery or
turn in a BEC operating on a controller to control.
The receiver LED will begin to flash indicating that the
receiver is in bonding mode.
D. Press and hold down the binding button on the transmitter
whilst switching it on.
E. The transmitter will begin to fl ash indicating that the receiver
is in bonding mode.
F. Release the binding button on the transmitter and disconnect
the receiver from the battery or turn off the controller.
Release the binding plug from the receiver.
G. Switch of the transmitter. and remove the binding wire. The
system be bound at the next start ..
H. Install all properly and check anything very precisely.
I. If the receiver fails to bond or does not function after bonding
repeat the above procedure until a successful bonding is
achieved.
The following diagrams illustrate the bonding process and show
the locations of the relevant components.
Bindungsstecker
Spina allacciare
Binding Plug