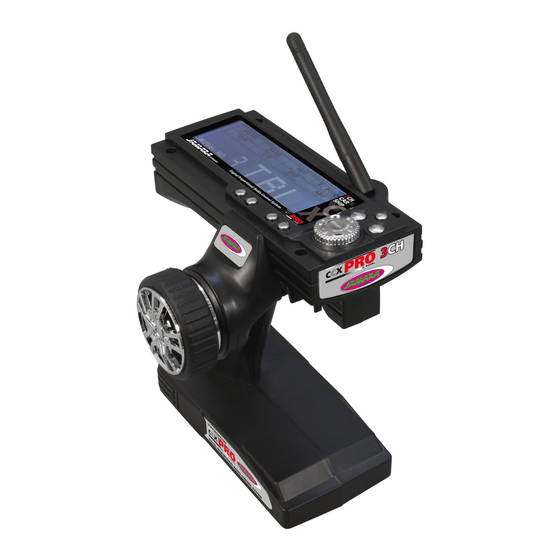
Jamara CCX Pro Instrução - Página 7
Procurar online ou descarregar pdf Instrução para Transmissor Jamara CCX Pro. Jamara CCX Pro 12 páginas. 2,4 ghz
Também para Jamara CCX Pro: Manual de instruções (20 páginas), Instrução (12 páginas), Instrução (12 páginas), Instrução (4 páginas), Manual de instruções (16 páginas)

IT - NAME
In questo menu è possibile assegnare a ciascun modello un nome (max. 3 caratteri).
„Modello No."
=
numero di modello
„ACB"
=
abbreviazione
Premere il tasto „Enter „. Per selezionare l'opzione „Name" girare il tasto Enter. La prima lettera (in
questo caso A) inizia a lampeggiare. Ruotare il pulsante Enter per selezionare una lettera. Premere il
tasto „End" per passare alla lettera successiva. Ripetere il processo per la terza lettera. Chi ha inserito il
codice, confermare premendo il tasto „Enter". Per uscire dal menu, premere BACK.
Servo direzione inversa
Channel:
Numero canale 1fino a 3.
REV:
Direzione del servo inverso
NOR:
Normale direzione del servo
Premere il tasto „Enter „. Ruotare la manopola per raggiungere il canale desiderato. Premere „END" per
modificare l'impostazione. L'impostazione lampeggia, scegliere ora con la manopola „REV" o „NOR"
e confermare con Enter.
E POINT
Con questa impostazione è possibile determinare l'angolo di sterzata del servo. Se il servo dello
sterzo a fondo scala (destra o sinistra) differisce, è possibile regolarlo.
Valore di uscita è al 100%.
Impostazione da 0 a 120%
Premere il tasto „Enter"e selezionare „E POINT" nel menu. Per selezionare la direzione del servo,
premere il canale (1, 2 o 3) e la direzione desiderata (1 = sterzo, 2 = leva del gas, 3 = tasto del terzo
canale). Premere „END" per confermare l'impostazione del canale. Usare la manopola per imposta-
re il valore e premere Enter per confermarlo.
TRIM
Con questa impostazione è possibile definire la posizione neutra del servo.
Valore di uscita è N00
Impostazione di L30 per N00 fino a R30 e F30 per N00 fino a B30.
L = sinistra, N = zero, R = destra, F = avanti, B = indietro
Premere il tasto „Enter"e selezionare „TRIM"nel menu. Il canale lampeggia. Premere „END" per
confermare l'impostazione del canale. Selezionare con la manopola il valore desiderato e premere
Enter per confermarlo. With this setting you can set the neutral position of the servos.
GB - NAME
In this menu you can assign a name to each model (max. 3 characters).
„Model No." =
model number
„ACB"
=
shortcut
Press „Enter". To select the option „Name" turn the enter button. The first letter (here A) starts to
flash. By turning the Enter button you can select a letter. Press the „End" key to switch to the next
letter. Repeat the process for the third letter. Once you have entered your code, confirm by pressing
the „Enter" key.
To exit the menu, press „BACK".
Servo reverse direction
Channel:
Channel number 1 to 3.
REV:
Reverse servo direction
NOR:
Normal servo direction
Press „Enter". Turn the knob to get to the desired channel. Press „END" to change the setting. The
setting is flashing, now select the button „REV" or „NOR" and press Enter.
E POINT
With this setting you can set the steering angle of your servos. If your steering servo differs at full
scale (left or right) differ, you can adjust it with this setting.
Output value is 100%.
Displacements from 0 to 120%
Press „Enter" and select „E POINT" in the menu. To select the servo direction, press the channel
(1, 2 or 3) ind the desired direction (1 = wheel, 2 = throttle, 3 = third channel key). Press „END"
to enter the setting of the channel. Select with the rotary knob to set the value and press Enter to
confirm the value.
TRIM
With this setting you can set the neutral position of the servos.
Output value is N00
Setting of L30 to N00 to R30 and F30 to N00 and B30.
L = left, N = zero, R = Right, F = Forward B = Back
Press „Enter" and select „TRIM" in the menu. The channel will flash. Press „END" to enter the setting
of the channel. Select with the rotary knob to set the value and press Enter to confirm the value.
7
