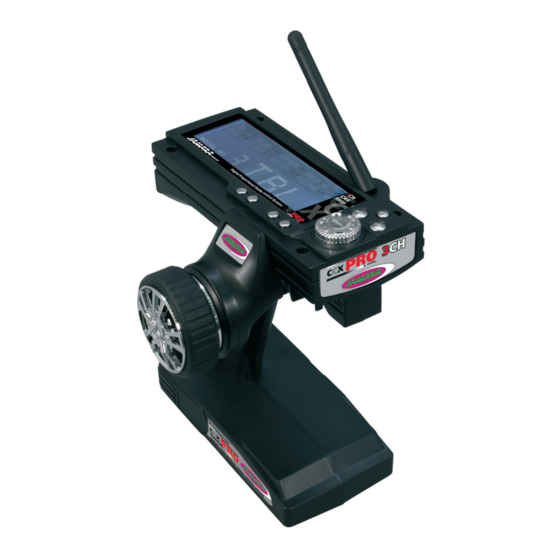
Jamara CCX Pro 2,4 GHz Manual de instruções - Página 10
Procurar online ou descarregar pdf Manual de instruções para Transmissor Jamara CCX Pro 2,4 GHz. Jamara CCX Pro 2,4 GHz 20 páginas.
Também para Jamara CCX Pro 2,4 GHz: Manual de instruções (20 páginas), Instrução (12 páginas), Manual de instruções (20 páginas)

LED
Récepteur
Receiver
FR - Synchronisation du récepteur et de l'émetteur
Pour un émetteur moderne il est absolument nécessaire de synchro-
niser l'émetteur avec le récepteur du modèle. Après ce procédé, le
récepteur n'accepte plus que les signaux émis par cet émetteur.
Si pour une raison quelconque vous souhaitez refaire une synchro-
nisation, procédez comme suit:
A. Mettez en place des accus chargés ou de nouvelles piles dans
l'émetteur. Laissez l'émetteur éteint en attendant.
B. Branchez le câble de synchronisation dans la sortie du canal 3
C. Allumez le système du récepteur en connectant la batterie du
récepteur au récepteur. En fonction de la version du logiciel
votre récepteur va donner des signaux différents pour le mode
de synchronisation (au lieu de clignoter la lumière LED va par
exemple briller ou s'éteindre complètement). Le mode de syn
chronisation est cependant le même quelque soit la version.
La LED sur le récepteur se met à clignoter et indique donc qu'il
est synchronisé
D. Restez appuyé sur la touche de synchronisation de l'émetteur et
mettez le en marche.
E. L'émetteur commence à clignoter pour indiquer qu'il est
synchronisé.
F. Relâchez la touche de synchronisation de l'émetteur et enlevez
la prise du récepteur.
G. Maintenant éteignez l'émetteur. A la prochaine mise en marche
de l'installation tout est synchronisé.
H. Installez tout correctement et vérifi ez soigneusement le bon
fonctionnement de l'ensemble.
I.
Si le processus ne s'est pas effectué avec succès, réitérez le
processus de synchronisation.
L'illustration vous montre graphiquement le déroulement de la
synchronisation et désigne les différents éléments devant êtres ac-
tionnés.
10
Touche de synchronisation
Binding Button
Accu
Battery
Connecteur de synchronisation
Binding Plug
GB - Binding the receiber to the transmitter
As with all modern 2.4GHz R/C systems the receiver must be bound
to the transmitter to ensure that the receiver will only react to
signals from that transmitter.
If you wish to re-bind the receiver with the transmitter please pro-
ceed as follows:
A. Ensure that the transmitter is fi tted with fresh or fully charged
batteries and leave the transmitter off.
B. Plug the binding plug (included) into the channel 3 socket on
the receiver.
C. Switch the receiver system on by connecting the battery or
turn in a BEC operating on a controller to control. Depending
on your software version of your receiver indicates the different
binding mode (instead of fl ashing lights for example LED or
remains out completely). The binding process as such is in all
versions. The receiver LED will begin to fl ash indicating that the
receiver is in bonding mode.
D. Press and hold down the binding button on the transmitter
whilst switching it on.
E. The transmitter will begin to fl ash indicating that the receiver
is in bonding mode.
F. Release the binding button on the transmitter and disconnect
the receiver from the battery or turn off the controller.
Release the binding plug from the receiver.
G. Switch of the transmitter. and remove the binding wire. The
system be bound at the next start ..
H. Install all properly and check anything very precisely.
I.
If the receiver fails to bond or does not function after bonding
repeat the above procedure until a successful bonding is
achieved.
The following diagrams illustrate the bonding process and show
the locations of the relevant components.
Bindungsstecker
