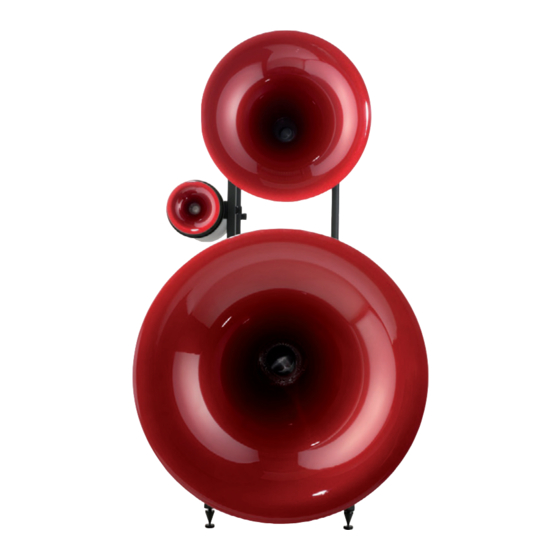
Avantgarde XD-1000 Manual do utilizador - Página 6
Procurar online ou descarregar pdf Manual do utilizador para Sistema de altifalantes Avantgarde XD-1000. Avantgarde XD-1000 15 páginas.

❻
Hexagon screw
EARTH
Inbus Schraube
❺
–SUB 2
SPKR INPUT
SPKR INPUT
❺
–SUB 1
PRESET
MENU
VOL
SLICE
CLIP
SELECT
SIG
VOL
ENTER
OK
ENTER
LED
SPKR
INPUT
MUTE
XLR
XLR
OUT
LAN
XLR
IN
ON
OFF
USB
12V DC TRIGGER
EARTH
XD-1000
AMP MODULE
100-240 VAC
50-60HZ
MAX. POWER
CONSUMPTION
1.200 WATTS
FUSE 6,3 A SLOW
SERIAL NO.
CAUTION!
Do not open.
Risk of
electrical shock!
10
Hexagon screw
Inbus Schraube
GND
❸
GND
❷
❹
❹
–CABLE
Tape
Klebeband
Insolate ends!
GND
GND
Kabel isolieren!
❼
SYSTEM INSTALLATION
TRI–WIRING VERKABELUNG TRIO / TRIO CLASSICO
! NUR SERVICE PERSONAL !
• Die Frequenzweiche ist dreigeteilt und befindet sich im
rückwärtigen Deckel des jeweiligen Gehäuserohres.
• Um das System im Tri–Wiring bzw. Tri–Amping Modus zu
betreiben, muss vorab die interne Verkabelung des Hoch-
töners ❷ und des Mitteltöners ❸ von der Frequenzweiche
entfernt werden.
Das
autorisierte Service Personal
① Vor dem Umbau alle Geräte ausschalten bzw. vom Netz
trennen.
② Die beiden Anschlusskabel am Gestell ❹–CABLE von
den kombinierten Mittel- und Hochton–Eingängen ❹ abzie-
hen, die Kabel–Stecker mit Isolierband umwickeln und die
losen Kabel mit Kabelbinder oder Klebeband vibrationssi-
cher am Gestell befestigen.
③ Mittel– und Hochtondeckel vorsichtig abschrauben.
Beim Lösen der Inbus–Schrauben darauf achten, dass die
Deckel nicht auf den Boden fallen und beschädigt werden.
Auf der Innenseite der Deckel befinden sich die Frequenz-
weichenplatinen. Die aus dem Gestell kommenden Kabel
von der Platine abziehen. Die losen Steckschuhe mit Isolier-
band umwickeln und vibrationssicher mit Kabelbinder oder
Klebeband innen am Gehäuserohr befestigen.
④ Mittel– und Hochtondeckel vorsichtig wieder montieren.
❶
⑤ Den Lautsprecher–Ausgang ❻ des Vollverstärkers
bzw. der Endstufe mit dem Hochton–Eingang ❷, mit dem
Mittelton–Eingang ❸ und mit dem Tiefton–Eingang ❶ des
Lautsprechersystems verbinden.
⑥ Erst jetzt die Subwoofer mit den beigepackten Netzka-
beln an das Stromnetz anschließen und einschalten.
SYSTEM INSTALLATION
TRI–WIRING CONNECTION TRIO / TRIO CLASSICO
! SERVICE PERSONNEL ONLY !
• The passive crossover consists of three circuit boards,
each located in the rear cover of the respective horn.
• To operate the system in Tri–Wiring or Tri–Amping mode,
the internal wiring of the Tweeter ❷ and the Midrange ❸
needs to be removed before the circuit boards of the pas-
sive crossover.
geht wie folgt vor:
Only
Authorized Service Personal
① To avoid electrical shock, disconnect all cables (power
and signal) before!
② Remove the two speaker cables coming out of the frame
structure ❹–CABLE from the combined Midrange/Tweet-
er–Input ❹. Insulate the banana plug ends of the cables
with electrical tape and securely fix the loose cable with a
tape or strap to the frame.
③ Carefully unscrew and remove the rear covers of the
Tweeter and Midrange. Make sure that the rear covers do
not incidentally drop and get scratched or damaged. The
crossover boards are located on the inside of each rear
cover. Carefully detach the speaker cable which is coming
out of the frame from the socket of the crossover board.
Insulate the loose speaker cables with electrical tape and
securely fix the cable with a tape or strap to the inner hous-
ing tube.
④ Re–attach the Tweeter / Midrange rear covers carefully.
⑤ Connect the Speaker–Output ❻ of the power (or in-
tegrated) amplifier with the Tweeter–Input ❷, with the
Midrange–Input ❸ and with the Lowrange–Input ❶ of the
speaker system.
⑥ Only now, connect the AC power cords of the compo-
nents to a household AC outlet and turn on the subwoofer.
may proceed as follows:
11
