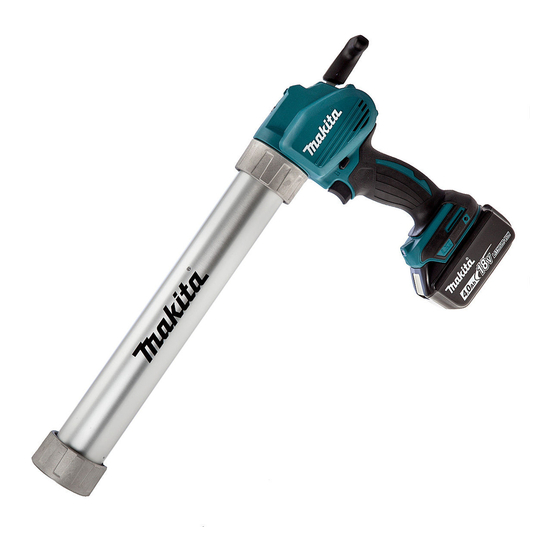
Makita BCG140 Manual de instruções - Página 9
Procurar online ou descarregar pdf Manual de instruções para Ferramenta eléctrica Makita BCG140. Makita BCG140 12 páginas. Cordless caulking gun
Também para Makita BCG140: Informações técnicas (11 páginas)

Installing film type pack
NOTICE:
Make sure the piston B is attached to the rod. Do
•
not use other type of piston for film type pack.
Film type pack can be installed in the long holder
•
(600ml) only.
Remove the holder cap, the nozzle and the rubber ring
from the holder.
Pull the rod handle backwards slowly until it stops.
013555
Cut off the tip of the film type pack.
Insert the film type pack into the holder.
1
3
013569
Attach the rubber ring, the nozzle and the holder cap.
Make sure holder cap is tightened firmly.
Push the rod gently until the piston touches the bottom
of the film type pack.
NOTE:
Always check the film type pack for puncture or
•
damage before installing. Do not use damaged
pack, otherwise the tool may be damaged.
Direct filling
NOTICE:
Make sure the piston C is attached to the rod. Do
•
not use other type of piston for direct filling.
Direct filling can only be performed with the long
•
holder (600ml).
Remove the holder cap, the nozzle and the rubber ring
from the holder.
Make sure the rod handle is placed at the most front
position.
Dip the mouth of the holder into the caulking material.
Pull the rod handle slowly until required amount of
caulking material is filled in the holder.
1. Rubber ring
2. Nozzle
3. Holder cap
9
Attach the rubber ring, the nozzle and the holder cap.
Make sure holder cap is tightened firmly.
NOTICE:
Clean the holder with appropriate solvent after
•
every day's work.
material may cause tool breakage.
OPERATION
CAUTION:
Do not touch the rod during operation. Otherwise
•
your finger may be pinched between the rod and
the housing of the tool.
Always wear goggles during operation.
•
NOTICE:
Do not cover vents, or it may cause overheating
•
and damage to the tool.
If you can not pull out the rod, turn the speed
•
adjusting dial to 1, and pull the switch trigger for a
moment, and try to pull the rod out after the motor
stopped. If the rod is still clogged, perform the
same action until the rod is able to move.
Cut off the tip of the nozzle suitable for individual
operation. Be careful how much you cut the nozzle. The
diameter of the nozzle affects the amount of caulking
material dispensed.
Pull the trigger to dispense caulking material.
The amount of the caulking material dispensed is
determined by the trigger, the speed adjusting dial, the
diameter of the nozzle opening, caulking material type,
and temperature.
It is recommended that the speed adjusting dial is set to
'1' and pull the trigger slowly at the first time to test how
much amount of caulking material is dispensed.
When the rod reaches front end, the motor starts idling.
Replace the caulking material when it happens.
NOTE:
If the caulking material is not dispensed, check the
following items:
Nozzle tip is not cut adequately. Cut the nozzle tip
•
suitable for individual operation.
Hardened material gets clogged in the nozzle.
•
Remove the hardened material.
The cartridge is damaged. Replace the cartridge.
•
Caulking material is stiff. Warm the material until it
•
becomes soft.
The wrong piston is used. Use appropriate piston.
•
Otherwise adhered caulking
