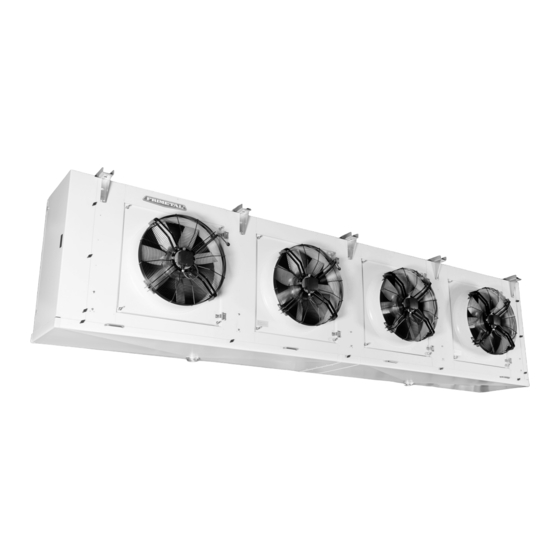
FRIMETAL FR Series Manual de instruções - Página 5
Procurar online ou descarregar pdf Manual de instruções para Ar condicionado FRIMETAL FR Series. FRIMETAL FR Series 20 páginas. Industrial evaporators

¡IMPORTANTE!
En los catálogos de los evaporadores se especifica la proyec-
ción de aire de los ventiladores, que es la distancia a la que llega
el aire con una velocidad residual de 0,25m/s, la cual es nece-
saria para que haya renovación de aire y se mantenga la tempe-
ratura igualada por toda la cámara. Para que este dato se verifi-
que en la práctica, es imprescindible colocar el género dejando
huecos y pasillos sin obstáculos para que el aire circule por ellos
libremente y pueda llegar a todos los rincones de la cámara.
8 Cuando la temperatura de evaporación sea menor de 0ºC,
la puerta de la cámara debe estar lo más alejada posible del
evaporador para evitar que la humedad del género recién
introducido y la procedente del exterior acceda directamen-
te al aparato y forme placas de hielo, lo cual perjudica el
rendimiento frigorífico y puede provocar roturas en los tubos
de la batería, dañándola irreversiblemente.
CONEXIONES FRIGORÍFICAS
GAMAS CON TUBO DE COBRE (FR y GR)
¡IMPORTANTE!
El evaporador se suministra sellado y con aire seco a presión
en el interior de la batería. El instalador puede así comprobar
que el aparato le llega en perfectas condiciones de estanquei-
dad. En el caso de que no hubiera aire en el interior, ¡NO CON-
TINUAR CON LA INSTALACIÓN DEL EVAPORADOR! y poner-
se en contacto con el Servicio Técnico de FRIMETAL.
Los pasos a seguir para realizar las conexiones son los
siguientes:
1 Aflojar los tornillos y abrir la tapa lateral.
2 Quitar el tapón y el obús de la válvula situada en uno de los
colectores para sacar todo el aire del interior. Volverlos a
colocar posteriormente.
3 Cortar el extremo del colector y del distribuidor de líquido
con un cortatubos.
Si el aparato incorpora la opción "Circuitos para agua gli-
colada u otros refrigerantes líquidos", entonces llevará dos
colectores del mismo diámetro en lugar de colector y distri-
buidor. Por lo demás, la forma de realizar las conexiones fri-
goríficas en estos modelos es igual a la de los modelos
estándar.
4 Soldar el colector a la línea de aspiración colocando antes
un trapo húmedo en el tubo de salida del colector entre la
zona donde se va a realizar la soldadura y la batería, para
evitar la transmisión del calor hacia la misma.
7
IMPORTANT!
On the evaporator catalogues the air throw of the fan motors
of each model is stated. This means the distance reached by
the air at a remaining speed of 0,25 m/s, which is necessary
to ensure enough air renewal to keep the temperatures alike
all over the room. To make sure this happens, it is compulsory
to place the goods leaving clean aisles without obstacles so
that the air can circulate freely through them and reach all the
corners of the room.
8 Whenever the evaporating temperature is under 0ºC, the
room door must be as far as possible from the evaporator in
order to prevent that the humidity from the goods already
placed and from the one coming from outside gets directly
into the unit forming ice blocks, which reduces the cooling
efficiency and may crack the tubes from the coil, causing
damage beyond repair
REFRIGERANT CONNECTIONS
RANGES WITH COPPER TUBE (FR and GR)
IMPORTANT!
The evaporator is supplied with its circuit sealed and with pres-
sured dry air inside the coil. In this way the installer can be sure
that the unit reaches the client in perfect condition and leak
free. In case there were no air inside, DO NOT CONTINUE
WITH THE INSTALLLATION! and get in contact with the
Technical Service of FRIMETAL.
To make the connections follow these steps:
1 Loosen the screws and open the lateral plate.
2 Unscrew the stopper and the valve core placed in one of the
headers to let all the air out. Replace them afterwards.
3 Cut the butt ends of the header and liquid distributor with a
pipe cutter.
If the unit incorporates the option "Circuits for glycol water
or other liquid refrigerants", it will have two headers of the
same diameter instead of header and liquid distributor.
Apart from that, the way of making the refrigerant connec-
tions on these models is the same as for the Standard
models.
4 Weld the header to the suction pipe placing beforehand a
damp cloth around the header connecting pipe between the
welding zone and the coil to avoid the transmission of heat
towards it.
8
5
