Makita BJN160 Manual de instruções - Página 6
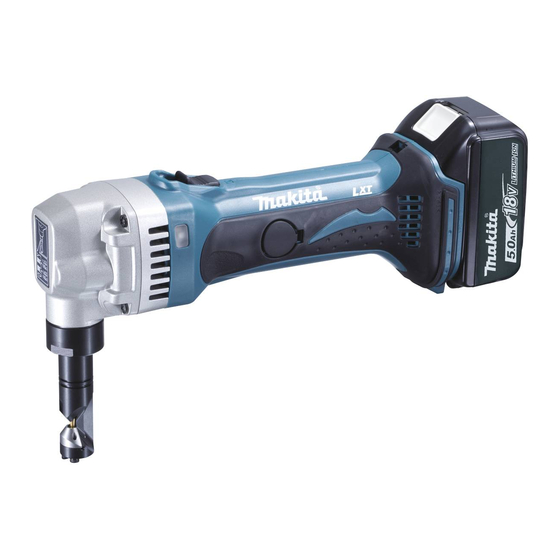
Procurar online ou descarregar pdf Manual de instruções para Ferramenta eléctrica Makita BJN160. Makita BJN160 13 páginas. Cordless nibbler
Também para Makita BJN160: Manual de instruções (11 páginas), Informações técnicas (8 páginas), Manual de instruções (13 páginas), Manual de instruções (12 páginas)
In this situation, turn the tool off and stop the
application that caused the tool to become
overloaded. Then turn the tool on to restart.
If the tool does not start, the battery is
overheated. In this situation, let the battery
cool before turning the tool on again.
Low battery voltage:
•
The remaining battery capacity is too low
and the tool will not operate. In this situation,
remove and recharge the battery.
NOTE:
The overheat protection works only with a battery
cartridge with a star mark.
1
012128
Changing the die position
1
2
4
013275
The die holder position can be changed 360°. To
change it, proceed as follows.
1.
Loosen the lock nut with the wrench provided.
2.
Pull the die holder slightly and turn it to the
desired position for operation.
3.
Tighten the lock nut to secure the die holder in
the desired position.
There are four positive stops at 90° each: 0°, 90° left
and right and 180°. To position the die to any of these
positive stops:
4.
Loosen the lock nut with the wrench provided.
5.
Pull the die holder slightly and depress lightly
while turning it to the desired position. The die
holder will lock into one of the positive stop
positions as desired.
6.
Turn the die holder slightly to make sure that it is
positively locked into position.
7.
Tighten the lock nut to secure the die holder.
1. Star marking
1. Die holder
2. Lock nut
3. Loosen
3
4. Wrench
Permissible cutting thickness
004775
The thickness of material to be cut depends upon the
tensile strength of the material itself. The groove on the
die holder acts as a thickness gauge for allowable
cutting thickness. Do not attempt to cut any material
which will not fit into this groove.
Cutting line
The notch in the die holder indicates your cutting line.
Its width is equal to the cutting width. Align the notch to
the cutting line on the workpiece when cutting.
Switch action
013276
CAUTION:
Before inserting the battery cartridge into the tool,
•
always check to see that the slide switch actuates
properly and returns to the "OFF" position when
the rear of the slide switch is depressed.
Switch can be locked in "ON" position for ease of
•
operator comfort during extended use. Apply
caution when locking tool in "ON" position and
maintain firm grasp on tool.
To start the tool, slide the slide switch toward the "I
(ON)" position. For continuous operation, press the front
of the slide switch to lock it.
To stop the tool, press the rear of the slide switch, then
slide it toward the "O (OFF)" position.
6
1. Gauge for
cutting stainless:
1
1.2 mm (3/64")
2. Gauge for
2
cutting mild
3
steel: 1.6 mm
(1/16")
3. Notch
1. Slide switch
1