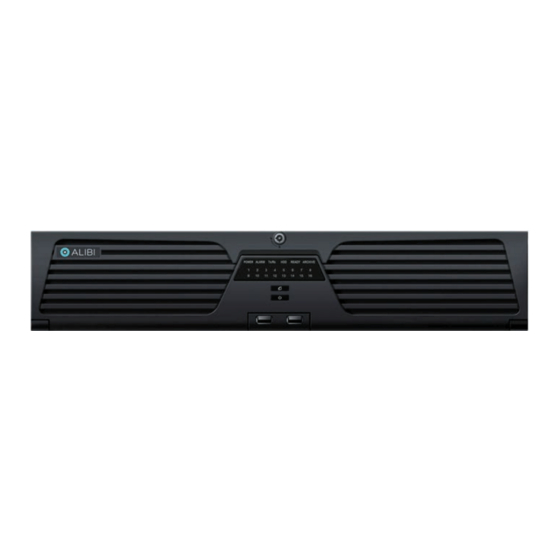
ALIBI ALI-NVR7232R Manual de configuração rápida - Página 3
Procurar online ou descarregar pdf Manual de configuração rápida para Hardware de rede ALIBI ALI-NVR7232R. ALIBI ALI-NVR7232R 11 páginas.

Step 1. Installing the System
What's in the box
Your system includes:
ALI-NVR7232R NVR
•
HDDs (if purchased)
•
Rack mounting brackets (1 set)
•
Front panel keys (2)
•
USB mouse
•
eSATA cable
•
Power cable for NVR
•
Disk mounting handles (16 (2 per HDD))
•
Quick Installation Guide (this document)
•
Chassis rack mount bracket (left, 1 of 2) and Disk mounting handle (right, 1 of 16)
Remove the equipment from its packaging and place it on a flat, clean surface. Inspect each item. If any visible damage is present, contact
your supplier for a replacement. Verify that your order is complete.
What you need
Although each security system installation is different, most require the following items not included with your system components:
VGA or HDMI compatible computer monitor and interface cable
•
HDDs compatible with the NVR (up to eight (8), each with up to 8TB)
•
IP cameras and cables compatible with the NVR
•
Phillips #1 screwdriver (for installing disk mounting handles on HDDs, rack mount brackets)
•
Tools to install the cameras and route power and video cables
•
Fasteners to attach the cameras to the mounting surfaces
•
A display device and interface cable to connect to the NVR. The NVR will connect directly to a VGA video monitor or an HDMI monitor. It
•
can be disconnected when the NVR is networked for access across a LAN or Internet.
Uninterruptible power supply (UPS). This device is used to ensure system stability during voltage surges, sags, and outages. If a UPS is
•
not available, a power strip with strong surge protection is highly recommended.
3
www.Observint.com
eSATA cable and front panel keys
NVR installation general guidelines:
NVR Placement
Your monitoring and recording equipment is the core device for constant surveillance and the reliable capture of video evidence. Observint
Technologies strongly suggest that it be installed in a secure location with access limited to authorized personnel. The NVR can be installed
on a shelf, or in a rack using the rack mounting brackets provided.
NVRs and monitors generate heat and should be placed in a clean and well ventilated area. A high temperature environment will reduce the
life span and reliability of the equipment. Additionally, the NVR is not weatherproof, so avoid exposure to liquids and excessive dust. Also, do
not place objects along the sides or behind the NVR that will block cooling airflow through the chassis or prevent access to the back panel
cabling.
Uninterruptible power supplies
It is strongly suggested that power to the system be routed through an uninterruptible power supply (UPS). These devices will keep your
security system running through most power outages, in addition to providing excellent surge and sag protection. The UPS should support
the NVR and all cameras to ensure normal operation during abnormal power conditions.
IP cameras monitored by the NVR
Your NVR connects to other devices through Ethernet networks. They must be accessible from the network(s) the NVR is connected to.
Rack mounting the NVR
The NVR is provided with chassis rack mount brackets. If installing the NVR in a rack,install a bracket on each side of the NVR. Secure a bracket
to each side of the NVR using the screws (provided).
Wiring alarm inputs to the NVR
You can wire up to 16 alarm inputs to the NVR. Alarm input wiring connects to the RS-485, Alarm IN / OUT connector blocks on the back of
the NVR.
Typical ALARM IN wiring (N.O. or N.C. sensor)
© 2018 Observint Technologies. All rights reserved.
