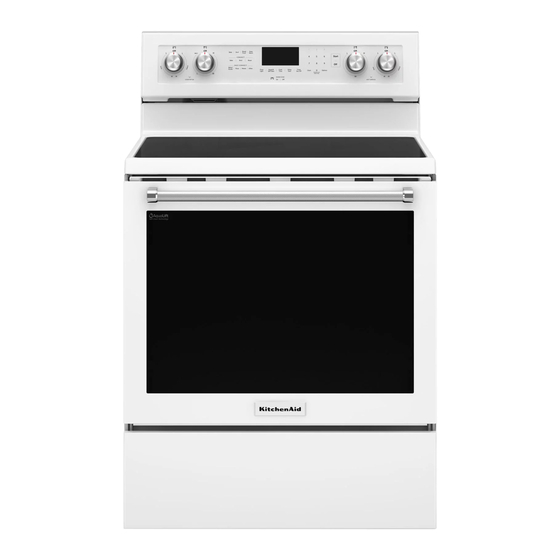
KitchenAid YKFEG500ESS Manual do Proprietário - Página 10
Procurar online ou descarregar pdf Manual do Proprietário para Gamas KitchenAid YKFEG500ESS. KitchenAid YKFEG500ESS 18 páginas. Freestanding
Também para KitchenAid YKFEG500ESS: Manual de instruções de instalação (20 páginas), Manual de início rápido (2 páginas)

For Ranges without AquaLift
Steam Clean:
1. Place a standard flat rack in oven.
2. Place level on the rack and check levelness of the range, first
side to side; then front to back.
3. If range is not level, pull range forward until rear leveling leg is
removed from the anti-tip bracket.
4. Follow the directions in Style 1 or Style 2, depending on the
style of drawer supplied with the range.
Style 1: Ranges Equipped with a Storage Drawer:
Use a 1/4" drive ratchet, wrench or pliers to adjust leveling legs up
or down until the range is level. Push range back into position.
Check that rear leveling leg is engaged in the anti-tip bracket.
Style 2: Ranges Equipped with a Warming Drawer or
Premium Storage Drawer:
Use a wrench or pliers to adjust leveling legs up or down until the
range is level. Push range back into position. Check that rear
leveling leg is engaged in the anti-tip bracket.
NOTE: Range must be level for satisfactory baking performance
and best cleaning results using AquaLift
Clean functions.
10
® ®
Technology or
®
Technology and Steam
Adjust Leveling Legs
1. If range height adjustment is necessary, use a wrench or pliers
to loosen the four leveling legs.
This may be done with the range on its back or with the range
supported on two legs after the range has been placed back to
a standing position.
NOTE: To place range back up into a standing position, put a
sheet of cardboard or hardboard in front of range. Using two
or more people, stand range back up onto the cardboard or
hardboard.
WARNING
Tip Over Hazard
A child or adult can tip the range and be killed.
Install anti-tip bracket to floor or wall per installation
instructions.
Slide range back so rear range foot is engaged in the
slot of the anti-tip bracket.
Re-engage anti-tip bracket if range is moved.
Do not operate range without anti-tip bracket installed
and engaged.
Failure to follow these instructions can result in death or
serious burns to children and adults.
2. Measure the distance from the top of the counter to the floor.
3. Measure the distance from the top of the cooktop to the
bottom of the leveling legs. This distance should be the same.
If it is not, adjust the leveling legs to the correct height. The
leveling legs can be loosened to add up to a maximum of 1"
(2.5 cm). A minimum of 3/16" (5 mm) is needed to engage the
anti-tip bracket.
NOTE: If height adjustment is made when range is standing,
tilt the range back to adjust the front legs, and then tilt forward
to adjust the rear legs.
4. When the range is at the correct height, check that there is
adequate clearance under the range for the anti-tip bracket.
Before sliding range into its final location, check that the anti-
tip bracket will slide under the range and onto the rear leveling
leg prior to anti-tip bracket installation.
NOTE: If a Trim Kit will be used, the top of the cooktop should
be higher than the counter. See the Installation Instructions
included with the Trim Kit for the correct height.
