Jandy JVA 2444 Pro Series Manual de instalação e operação - Página 6
Procurar online ou descarregar pdf Manual de instalação e operação para Controlador Jandy JVA 2444 Pro Series. Jandy JVA 2444 Pro Series 16 páginas.
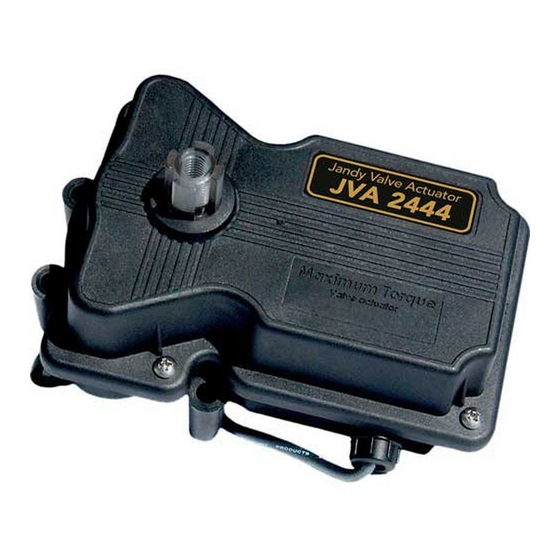
Page 6
ENGLISH
3.2
Actuator Mounting
JVA's mount directly on all full-size Jandy Pro
Series Valves (8 screws on lid). Zodiac recommends
motorizing Jandy Pro Series Never Lube
JVA's may be mounted onto valves in any of the four (4)
positions in Figure 3.
I
A
B
III
A
B
Figure 3. JVA Mounting Positions.
1.
Unscrew the locking knob by turning the knob
counterclockwise. Remove the locking knob and
valve handle (see Figure 4).
2.
For standard valves, remove the four (4)
large Phillips head screws from the valve.
The location of the screws you remove will
determine how the actuator will be mounted
(see Figure 4). When installing the large 3"
valve, it is not necessary to remove any screws.
Use the four mounting bosses provided.
Remove Locking
Knob and Handle
Figure 4. Remove Locking Knob and Lid Screws
Jandy
Pro Series Valve Actuator
®
Valves only.
®
II
A
C
B
IV
C
A
B
Remove the 4 Large
Phillips Head Screws
|
Installation and Operation Manual
3.
Turn the actuator over so you can see into the
clear actuator shaft. There are four (4) "teeth"
on the inside of the shaft. Locate the smallest
"tooth" and align this "tooth" with the smallest
slot on the valve (see Figure 5).
Place actuator on valve so smallest tooth
Smallest Slot
C
Figure 5. Actuator Mounting
4.
Place the actuator onto the valve.
C
5.
Rotate the actuator while keeping the two shafts
engaged until the screw holes on the actuator legs
align with the empty screw holes (from step 2) in
the valve (see Figure 6).
6.
Use the four (4) large 2" Phillips head screws
(included with the JVA) to secure the JVA to the
valve.
7.
Put the valve handle on the actuator shaft. Put
the knob on the shaft and tighten (finger tighten
only).
Rotate valve or actuator
to align screw holes
Rotate
valve
Figure 6. Actuator Mounting
aligns with smallest slot.
Smallest Tooth
Actuator
Bottom
Rotate
actuator