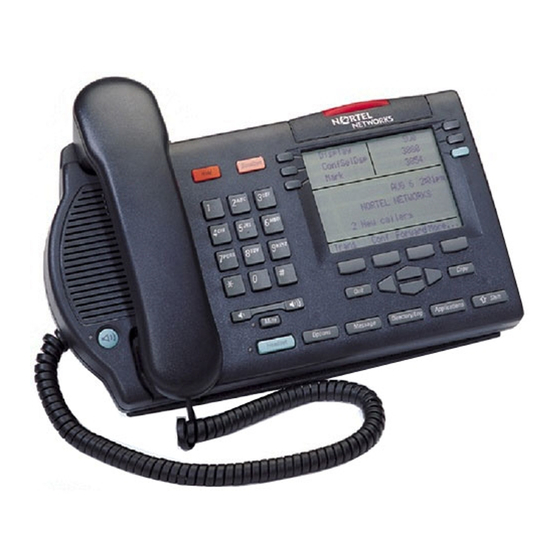
Avaya 3904 Manual - Página 3
Procurar online ou descarregar pdf Manual para Telefone IP Avaya 3904. Avaya 3904 12 páginas. 3900 series, digital deskphone external alerter and recording interface
Também para Avaya 3904: Manual de instalação e aplicação (11 páginas), Cartão de referência rápida (2 páginas)

-
Press the Select Key when the desired option is highlighted.
-
Change the option's settings. Refer to the following pages for details. The display also provides you with information to adjust your selection.
-
Press the Done Key to save your changes.
OR
-
Press the Quit Key or Options Key to exit.
NOTE: If you press the Quit Key or Options Key before you press the Done Key, you exit the Options List without saving your changes.
Select a Language
The display is available in multiple languages. After you select Language from the Options List menu:
-
Use the Navigation Keys to highlight the desired language (e.g., English).
-
Press the Select Key.
-
Press the Done Key to save changes. – or-
-
Press the Quit Key or Options Key to exit.
Change a Feature Key label
You can change the name on the Line (DN)/Feature Keys (self- labeled). These keys are located on both sides of the top portion of the display area.
To change a Feature Key label:
-
Press the down Navigation Key once to highlight Change feature key label.
-
Press the Select Key. This action takes you to the Feature Key menu and highlights Change feature key label.
-
Press the Select Key again. The prompt asks you to select the key you want to change.
-
Press the Line(DN)/Feature Key whose label you want to change.
-
Press the Dial Pad Key that contains the first letter in your new label. Press
-
the key until the correct character appears.
-
Repeat until you have changed the entire label.
-
Press the Done Key to save changes.
-
Press the Quit Key or Options Key to exit.
NOTE: You cannot change the label on your primary DN(green key). Press the Shift Key if the label you want to change is on the second layer of the Line
(DN)/Feature Keys.
NOTE: Use the Case Key to change the case of the letter, as needed. You can use the Delete Key to delete one character.
NOTE: Press the Up Navigation Key to access special characters you may want to include in the label. Use the Navigation Keys to locate the character you want to
include. Press the Select Key to choose the highlighted character. Press the Done Key to return to label entry without selecting a special character.
To restore one key label:
-
From the Feature Key menu, use the down Navigation Key to highlight Restore one key label option.
-
Press the Select Soft Key.
-
Press the Line(DN)/Feature Key (self-labeled) that you want to restore to the original label.
-
Press the Done Key to return to the Options List menu.
-
Press the Quit Key or Options Key to exit.
To restore all key labels:
-
Use the down Navigation Key to highlight Restore all key labels option.
-
Press the Select Key. The display asks you to verify that you want to restore all labels.
-
Press the Yes Key.
-
Press the Done Key to return to the Options List menu.
-
Press the Quit Key or Options Key to exit.
Adjust Screen Contrast
The Screen contrast option allows you to adjust the contrast of the display on your telephone.
After you select Screen contrast from the Options List menu:
-
From the Contrast screen, press the Lower Key to decrease the display contrast level, or press the Higher Key to increase the display contrast level.
-
Press the Done Key to save changes.
-
Press the Quit Key or Options Key to exit.
Adjust Volume
NOTE: After you select Volume adjustment from the Options List menu, a list of adjustable items appears.
To adjust the Ringer volume:
-
Select Ringer from the Volume menu.
