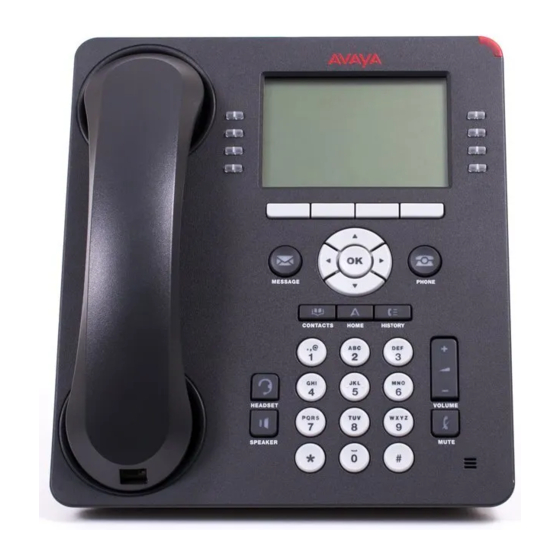
Avaya one-X 9608G Referência rápida - Página 5
Procurar online ou descarregar pdf Referência rápida para Telefone IP Avaya one-X 9608G. Avaya one-X 9608G 5 páginas. Ip deskphones h.323
Também para Avaya one-X 9608G: Referência rápida (3 páginas), Referência rápida (3 páginas), Referência rápida (2 páginas), Referência rápida (7 páginas), Mini-Manual (8 páginas), Referência rápida (2 páginas)

Send all calls
When Send All Calls (SAC) is on, your incoming calls
go directly to a predefined coverage number, typically
your voicemail. Incoming calls ring a short ring at your
extension and then goes directly to your coverage.
If the SAC feature is administered on your phone, a
SendAll softkey appears on the Phone screen.
Pressing SendAll turns Send All Calls on. If it is
already on, pressing SendAll turns it off.
Send all calls
1. From the Phone screen, scroll right to access the
Features menu.
2. Select SendAllCalls.
3. Press OK to turn Send All Calls on or off.
Contacts
You can save up to 250 names and telephone
numbers on the contact list of your phone. The
contact list is isolated to only your phone and is not
accessible from other phones.
Viewing Contacts details
1. Press Contacts.
2. Select the contact you want to view by using the
arrow keys to scroll down the list.
3. Press Details to see all information available for that
contact.
Calling a person from the Contacts list
1. Press Contacts.
2. Select the person or number you want to call.
3. Press Call or OK.
Adding a new contact
1. Press Contacts.
2. Press New.
3. Enter the name using the dialpad.
a. Press the number key that corresponds to the
letter or number you want to enter until the letter
or number is displayed.
b. Pause before entering the next character if the
characters are on the same key.
c. Enter remaining letters or numbers.
d. Press Bksp to delete the last character.
e. Press More --> Abc to change between upper
and lower case letters or to enter numbers.
f. Press ABC again to cycle through the options
(Abc/123/abc/ABC) until the type you want to use
is displayed.
g. Press More --> Symbols to enter characters
that are not on your dialpad.
h. Select the symbol you want to use.
i. Press OK to select the symbol.
(Press Clear to delete all text and start over.)
4. Select the next field.
5. Enter the telephone number.
6. Press Save or OK.
Editing a contact
1. Press Contacts.
2. Select the contact you want to edit.
3. Press More --> Edit .
4. Choose the field you want to edit.
5. Use the dialpad and softkeys to make changes to
the contact information.
6. Press Save or OK.
Deleting a contact
1. Press Contacts.
2. Select the contact you want to delete.
3. Press More > Delete .
4. Press Delete again to confirm.
Note:
Page 5
Call History
You can use the Call History to view a list of your
missed calls, or separate lists of your answered,
outgoing, or missed calls. When you have one or more
missed calls, the History button lights and the Missed
Calls icon and the number of missed calls displays on
the top line.
Viewing the call History
1. Press History.
Note:
You can go to the top of the list by pressing
History again.
2. Scroll to the right or left to view separate lists of your
answered, outgoing, or missed calls lists.
Calling an entry in your History
1. Press the History button.
2. Scroll to and select the number you want to call, or
press the Call softkey.
Viewing call details
1. Press History.
2. Select the number you want to view.
3. Press Details.
4. Press Back to return to the list view.
Adding an entry to your Contacts list
1. Press History.
2. Select the number you want to add to your Contacts
list.
3. Press +Contact.
4. Edit name and telephone number, if necessary.
5. Press Save.
You can go to the top of the list by pressing Call Log
again.
.
Getting Your Messages
Press the Message button to connect directly to your
voicemail system. The lighted Message button and a
red light on the upper right-hand corner of your
telephone indicate when you have messages waiting.
