Gardena AquaContour automatic 8133 Manual de Instruções - Página 7
Procurar online ou descarregar pdf Manual de Instruções para Equipamento para relva e jardim Gardena AquaContour automatic 8133. Gardena AquaContour automatic 8133 12 páginas. Aquacontour automatic.
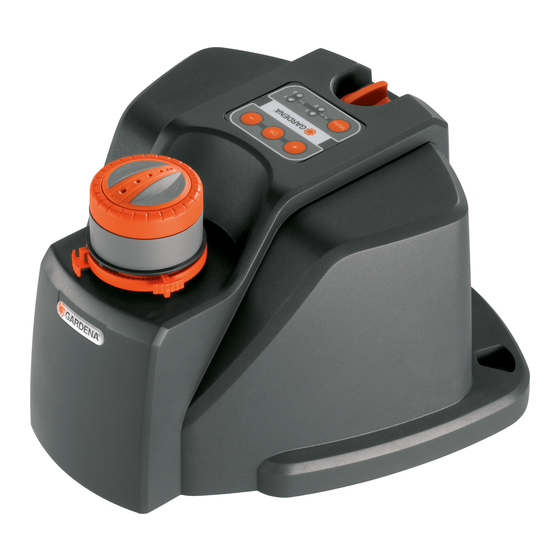
large-area irrigation
Também para Gardena AquaContour automatic 8133: Manual de Instruções (13 páginas)
6. Putting into Storage
Storage /
Overwintering :
Disposal :
(in accordance with
RL 2002 / 96 / EC)
7. Maintenance
Replace batteries :
C
D
Clean dirt filter :
E
16
The storage location must not be accessible to children.
1. Remove batteries from the Large-Area Irrigation AquaContour
automatic.
The programmes remain unchanged.
2. Store the Large-Area Irrigation AquaContour automatic in a dry
place protected from frost.
Important !
Return spent batteries to one of the sales outlets or dispose
of batteries via your municipal recycling collection centre.
Only dispose of battery once discharged.
The product must not be added to normal household waste. It
must be disposed of in line with local environmental regulations.
v Important: Make sure that the unit is disposed of via your
municipal recycling collection centre.
If the Auto LED 1 and Set LED 1 start flashing every 8 seconds,
the batteries have to be replaced.
The programmes remain unchanged.
1. Turn the battery cover
Irrigation AquaContour automatic anticlockwise 1 and pull
out carefully 2 (bayonet coupling).
2. Remove battery holder
cells type IEC LR14).
When doing so, ensure correct polarity + / -.
3. Re-insert battery holder
C
4. Fit battery cover
Test battery :
v During "sleep mode" (the green Auto LED
press the two buttons "+" button
4 seconds.
Both green Auto LED light up : batteries have still enough capacity.
Both red Auto LED light up : replace batteries.
E
1. Turn the dirt filter
(bayonet coupling).
E
2. Clean dirt filter
under clean running water.
E
3. Refit dirt filter
in reverse order.
C
on the bottom of the Large-Area
D
and insert 4 batteries (1.5 V round
D
.
in reverse order.
2
and "-" button
anticlockwise 1 and pull out carefully 2
6
does not light up)
3
for