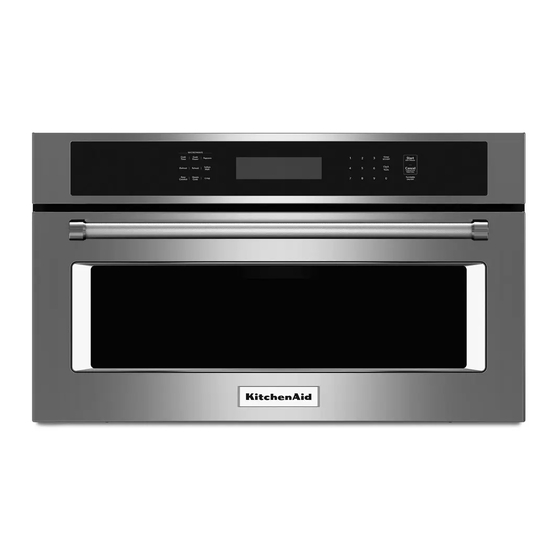
KitchenAid KMBP100ESS Manual de instruções de instalação - Página 4
Procurar online ou descarregar pdf Manual de instruções de instalação para Forno micro-ondas KitchenAid KMBP100ESS. KitchenAid KMBP100ESS 8 páginas. 27" (68.6 cm) and 30" (76.2 cm) electric
built-in microwave oven flush installation kit
Também para KitchenAid KMBP100ESS: Manual de instruções de instalação (12 páginas)

Assemble Spacer Kit
1. Attach bottom vent to spacer bars using four ³⁄₈" hex-head
washer screws.
NOTE: Spacer bar flanges should be facing out.
D
B
C
A
A. Bottom vent
B. Spacer bar flange
C. Spacer bars
³⁄₈
D.
" hex-head washer screws
Install Spacer Kit
1. Center assembled microwave oven spacer kit against lower,
front edge of the cabinet cutout.
2. Using an ¹⁄₈" (3 mm) drill bit, drill through the mounting holes
in the spacer bars to create pilot holes.
3. Attach the assembled spacer kit to the cabinet using four
¾" pan-head screws provided. Do not overtighten screws.
A. ¾" pan-head screws
B. Spacer kit assembly
4
INSTALLATION INSTRUCTIONS
D
A
B
Install Microwave Oven
Follow the instructions below along with the instructions in the
Electric Built-In Microwave Oven Installation Instructions.
Read the "Electrical Requirements" and "Electrical Connection"
sections, along with all other sections of the Installation
Instructions, before installing the microwave oven.
WARNING
Excessive Weight Hazard
Use two or more people to move and install
microwave oven.
Failure to do so can result in back or other injury.
1. Using 2 or more people, lift the microwave oven partially into
the cabinet cutout above the spacer kit. Place microwave
oven in between the spacer bar flanges.
NOTE: When pushing the microwave oven into the cabinet,
open the microwave oven door and push against the seal
area on the front frame. Do not push against the outside
edges.
2. Push against the front frame of the microwave oven to push
oven into cabinet. Push microwave oven completely into
cabinet and center in cabinet cutout.
C
B
A
A. Spacer bar flange
B. Spacer bar
C. Microwave oven
Complete Installation
1. Check that all parts are now installed. If there is an extra part,
go back through the steps to see which step was skipped.
2. Check that you have all of your tools.
3. Dispose of/recycle all packaging materials.
If you need Assistance or Service:
Please reference the "Assistance or Service" section of the Use
and Care Guide or contact the dealer from whom you purchased
your built-in microwave oven spacer kit.
C
