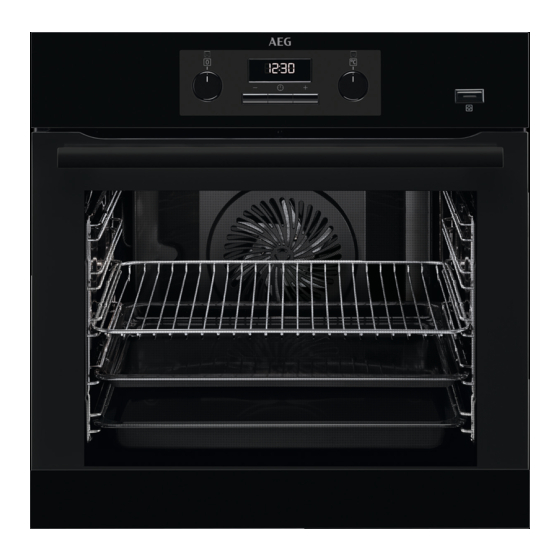
AEG BEB351010W Manual do utilizador - Página 26
Procurar online ou descarregar pdf Manual do utilizador para Forno AEG BEB351010W. AEG BEB351010W 32 páginas.
Também para AEG BEB351010W: Manual do utilizador (36 páginas), Manual do utilizador (36 páginas), Manual do utilizador (32 páginas)

26
www.aeg.com
Food
Toast
Beef Steak
1) Turn halfway through.
11. CARE AND CLEANING
WARNING!
Refer to Safety chapters.
11.1 Notes on cleaning
Clean the front of the oven with a soft
cloth with warm water and a mild
cleaning agent.
To clean metal surfaces, use a dedicated
cleaning agent.
Clean the oven interior after each use.
Fat accumulation or other food remains
may result in a fire. The risk is higher for
the grill pan.
Clean all accessories after each use and
let them dry. Use a soft cloth with warm
water and a cleaning agent. Do not clean
the accessories in the dishwasher.
Clean stubborn dirt with a special oven
cleaner.
If you have nonstick accessories, do not
clean them using aggressive agents,
sharp-edged objects or a dishwasher. It
can cause damage to the nonstick
coating.
Clean the moisture from the cavity after
each use.
11.2 Cleaning the cavity
embossment
The cleaning procedure removes
limestone residue from the cavity
embossment after cooking with steam.
For the function: True Fan
Cooking PLUS we
recommend to do the
cleaning procedure at least
every 5 - 10 cooking cycles.
Function
Time (min)
Grilling
1 - 3
Grilling
24 - 30
1. Put 250 ml of white vinegar into the
2. Let the vinegar dissolve the residual
3. Clean the cavity with warm water and
11.3 Removing the shelf
supports
To clean the oven, remove the shelf
supports.
1. Pull the front of the shelf support
2. Pull the rear end of the shelf support
Install the removed accessories in the
opposite sequence.
Shelf position
5
4
1)
cavity embossment at the bottom of
the oven.
Use maximum 6% vinegar without
any additives.
limestone at the ambient
temperature for 30 minutes.
a soft cloth.
CAUTION!
Be careful when you remove
the shelf supports.
away from the side wall.
away from the side wall and remove
it.
1
2
