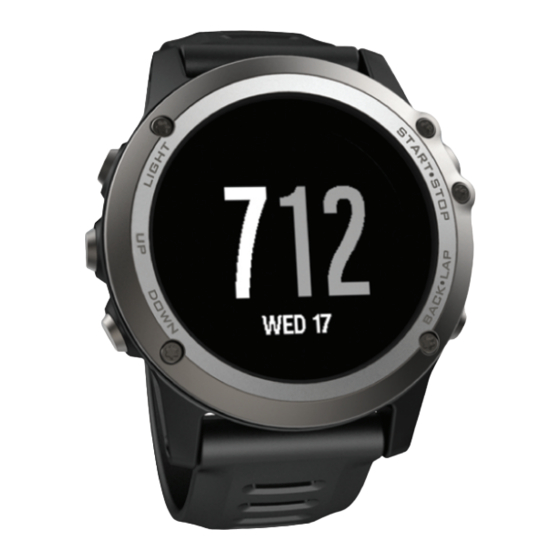
Garmin Fenix 3 Manual do Proprietário - Página 8
Procurar online ou descarregar pdf Manual do Proprietário para Ver Garmin Fenix 3. Garmin Fenix 3 26 páginas. Gps watch garmin fenix 3
Também para Garmin Fenix 3: Manual do Proprietário (28 páginas)

2
Select Open Water.
3
Go outside, and wait while the device locates satellites.
4
Select START to start the timer.
History is recorded only while the timer is running.
5
Start your activity.
6
Select LAP to record an interval (optional).
7
Select UP or DOWN to view additional data pages (optional).
8
After you complete your activity, select STOP > Save.
Multisport
Triathletes, duathletes, and other multisport competitors can
take advantage of the multisport activity. During a multisport
activity, you can transition between activities and continue to
view your total time and distance. For example, you can switch
from biking to running and view your total time and distance for
biking and running throughout the multisport activity.
You can customize a multisport activity, or you can use the
default multisport activity set up for a standard triathlon.
Starting a Triathlon or Multisport Activity
Before you start an activity, you should charge the device
(Charging the
Device). Before you can use an ANT+ sensor, you
must pair the sensor with your device
1
Pair your ANT+ sensors, such as a foot pod or heart rate
monitor (optional).
2
From the clock, select START.
3
Select Triathlon or a custom multisport activity.
4
Go outside, and wait while the device locates satellites.
5
Select START to start the timer.
History is recorded only while the timer is running.
6
Start your first activity.
7
Select LAP to transition to the next activity.
If transitions are turned on, the transition time is recorded
separately from the activity times.
8
If necessary, select LAP to start the next activity.
9
Select UP or DOWN to view additional data pages (optional).
10
After you complete your activity, select STOP > Save.
Creating a Multisport Activity
1
Hold UP.
2
Select Settings > Apps > Add New > Multisport.
3
Select an option:
• Select an activity type.
• Select Custom, and enter a name.
4
Select an activity.
5
If necessary, repeat step 4 until the multisport activity is
complete.
6
Select Done.
7
Select Yes to turn transitions on or No to turn transitions off.
When transitions are turned on, the transition time is
recorded separately from the activity times.
Indoor Activities
The fēnix 3 device can be used for training indoors, such as
running on an indoor track or using a stationary bike.
GPS is turned off for indoor activities. When running with GPS
turned off, speed, distance, and cadence are calculated using
the accelerometer in the device. The accelerometer is self-
calibrating. The accuracy of the speed, distance, and cadence
data improves after a few outdoor runs using GPS.
4
(Pairing ANT+
Sensors).
Navigation
Saving Your Location
You can save your current location to navigate back to it later.
1
Hold UP.
2
Select Save Location.
3
Follow the on-screen instructions.
Navigating to a Destination
You can use your device to navigate to a destination or follow a
course. When you start navigating, you can choose the activity
to be used while traveling to your destination, such as hiking,
running, or biking. If you are already recording an activity when
you start navigation, the device continues to record the current
activity while navigating.
1
Hold UP.
2
Select Navigation.
3
Select a category.
4
Follow the on-screen instructions to select a destination, and
select Go To.
5
Select an activity.
Navigation information appears.
6
Select UP or DOWN to view additional data pages (optional).
Navigating with Sight 'N Go
You can point the device at an object in the distance, such as a
water tower, lock in the direction, and then navigate to the
object.
1
Hold UP.
2
Select Navigation > Sight 'N Go.
3
Point the top mark on the bezel at an object and select
START.
4
Select a category.
5
Select START to begin navigation.
Navigation information appears.
6
Select UP or DOWN to view additional data pages (optional).
Compass
The device has a 3-axis compass with automatic calibration.
The compass features and appearance change depending on
your activity, whether GPS is enabled, and whether you are
navigating to a destination. You can manually change the
compass settings
(Compass
Map
represents your location on the map. Location names and
symbols appear on the map. When you are navigating to a
destination, your route is marked with a line on the map.
• Map navigation
(Panning and Zooming the
• Map settings
(Customizing Map
Panning and Zooming the Map
1
While navigating, select UP to view the map.
2
Hold UP.
3
Select Pan/Zoom.
4
Select an option:
• To toggle between panning up and down, panning left and
right, or zooming, select START.
• To pan or zoom the map, select UP and DOWN.
• To quit, select BACK.
Settings).
Map)
Features)
Navigation
