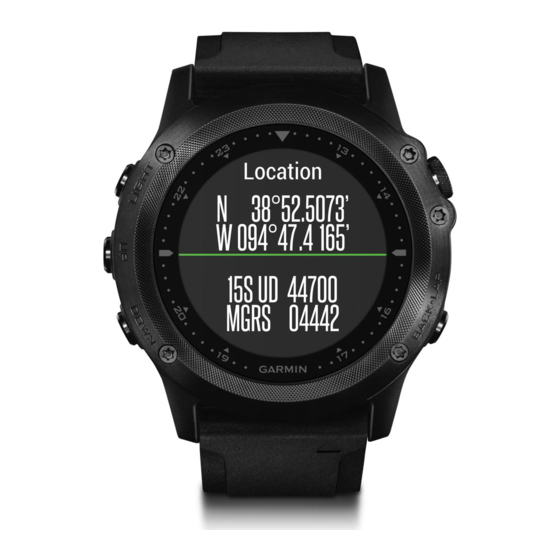
Garmin tactix Bravo Manual do Proprietário - Página 19
Procurar online ou descarregar pdf Manual do Proprietário para Ver Garmin tactix Bravo. Garmin tactix Bravo 34 páginas.

Range alert: A range alert notifies you each time the device is
above or below a specified range of values. For example, you
can set the device to alert you when your heart rate is below
60 beats per minute (bpm) and over 210 bpm.
Recurring alert: A recurring alert notifies you each time the
device records a specified value or interval. For example, you
can set the device to alert you every 30 minutes.
Alert Name Alert Type
Description
Cadence
Range
You can set minimum and maximum
cadence values.
Calories
Event,
You can set the number of calories.
recurring
Custom
Recurring
You can select an existing message or
create a custom message and select an
alert type.
Distance
Recurring
You can set a distance interval.
Elevation
Range
You can set minimum and maximum
elevation values.
Heart Rate Range
You can set minimum and maximum heart
rate values or select zone changes. See
About Heart Rate Zones, page 6
Heart Rate Zone Calculations, page
Pace
Range
You can set minimum and maximum pace
values.
Power
Range
You can set the high or low power level.
Run/Walk
Recurring
You can set timed walking breaks at
regular intervals.
Speed
Range
You can set minimum and maximum
speed values.
Time
Event,
You can set a time interval.
recurring
Setting an Alert
1
Hold UP.
2
Select Settings > Apps.
3
Select an activity.
NOTE: This feature is not available for all activities.
4
Select Alerts.
5
Select an option:
• Select Add New to add a new alert for the activity.
• Select the alert name to edit an existing alert.
6
If necessary, select the type of alert.
7
Select a zone, enter the minimum and maximum values, or
enter a custom value for the alert.
8
If necessary, turn on the alert.
For event and recurring alerts, a message appears each time
you reach the alert value. For range alerts, a message appears
each time you exceed or drop below the specified range
(minimum and maximum values).
Auto Lap
Marking Laps by Distance
You can use Auto Lap to mark a lap at a specific distance
automatically. This feature is helpful for comparing your
performance over different parts of an activity (for example,
every 1 mile or 5 kilometers).
1
Hold UP.
2
Select Settings > Apps.
3
Select an activity.
NOTE: This feature is not available for all activities.
4
Select Auto Lap.
5
Select an option:
• Select Auto Lap to turn Auto Lap on or off.
Customizing Your Device
• Select Auto Distance to adjust the distance between
laps.
Each time you complete a lap, a message appears that displays
the time for that lap. The device also beeps or vibrates if audible
tones are turned on
If necessary, you can customize the data pages to display
additional lap data
Customizing the Lap Alert Message
You can customize one or two data fields that appear in the lap
alert message.
1
Hold UP.
2
Select Settings > Apps.
3
Select an activity.
NOTE: This feature is not available for all activities.
4
Select Auto Lap > Lap Alert.
5
Select a data field to change it.
6
Select Preview (optional).
Enabling Auto Pause
and
You can use the Auto Pause feature to pause the timer
7.
automatically when you stop moving. This feature is helpful if
your activity includes stop lights or other places where you must
stop.
NOTE: History is not recorded while the timer is stopped or
paused.
1
Hold UP.
2
Select Settings > Apps.
3
Select an activity.
NOTE: This feature is not available for all activities.
4
Select Auto Pause.
5
Select an option:
• To pause the timer automatically when you stop moving,
select When Stopped.
• To pause the timer automatically when your pace or
speed drops below a specified level, select Custom.
Enabling Auto Climb
You can use the auto climb feature to detect elevation changes
automatically. You can use it during activities such as climbing,
hiking, running, or biking.
1
Hold UP.
2
Select Settings > Apps.
3
Select an activity.
NOTE: This feature is not available for all activities.
4
Select Auto Climb > Status > On.
5
Select Run Screen to identify which data screen appears
while running.
6
Select Climb Screen to identify which data screen appears
while climbing.
7
If necessary, select Invert Colors to reverse the display
colors when changing modes.
8
Select Vertical Speed to set the rate of ascent over time.
9
Select Mode Switch to set how quickly the device changes
modes.
3D Speed and Distance
You can set 3D speed and distance to calculate your speed or
distance using both your elevation change and your horizontal
movement over ground. You can use it during activities such as
skiing, climbing, navigating, hiking, running, or biking.
Using Auto Scroll
You can use the auto scroll feature to cycle through all of the
activity data screens automatically while the timer is running.
(System Settings, page
17).
(Customizing the Data Screens, page
®
14).
15
