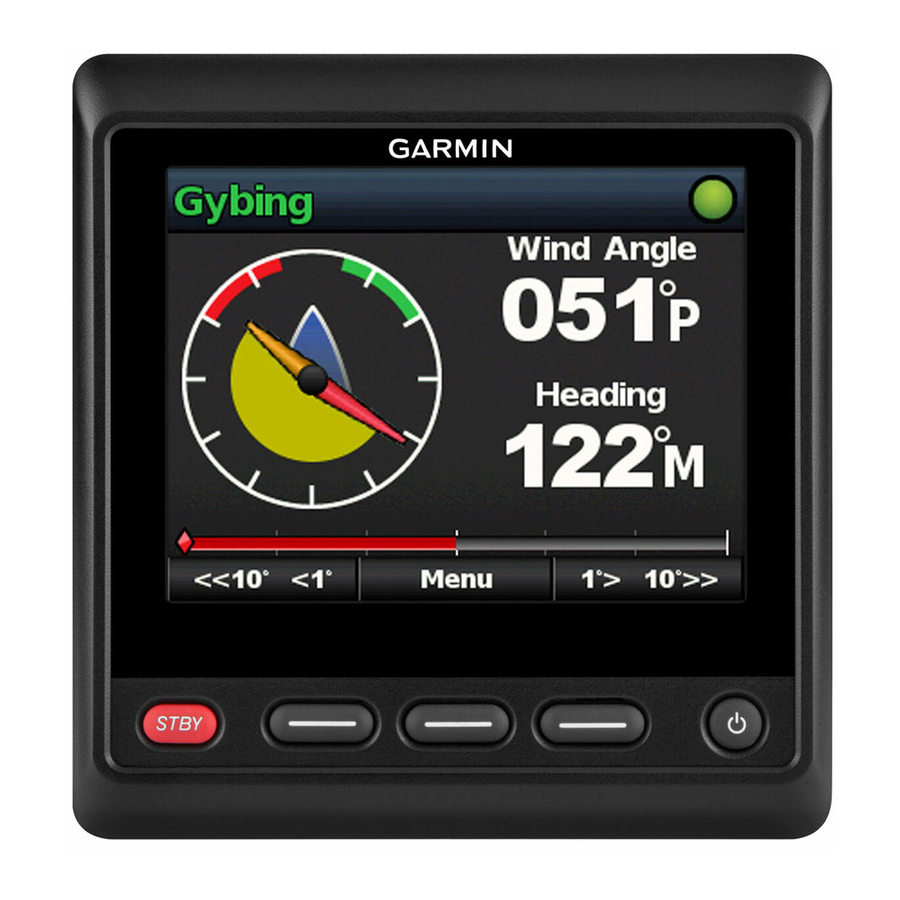
Garmin GHC 20 Manual do Proprietário - Página 5
Procurar online ou descarregar pdf Manual do Proprietário para Equipamento marítimo Garmin GHC 20. Garmin GHC 20 8 páginas.
Também para Garmin GHC 20: Manual do Proprietário (13 páginas)

GPS Steering Patterns
You are responsible for the safe operation of your boat. Do not
begin a GPS pattern until you are certain that the water is clear
of obstacles.
Garmin ® recommends using Follow Route only under motor
power. Using Follow Route while under sail can cause an
unexpected gybe, risking damage to your sailboat. Unattended
sails and rigging can be damaged or cause injury to any crew or
passengers during an unexpected gybe maneuver.
NOTE: The autopilot must be connected to a NMEA 2000 ® or
NMEA ® 0183 compatible chartplotter to follow a GPS steering
pattern.
The autopilot can steer the boat along a route defined by your
GPS device or in preset patterns based on a GPS location
(waypoint). To use GPS steering, you must have a compatible
GPS device connected to the autopilot using NMEA 2000 or
NMEA 0183. GPS steering patterns are based on a GPS
waypoint to which you are actively navigating using your
optional GPS device. This waypoint is called the active
waypoint.
Following a GPS Steering Route
The autopilot can steer the boat according to a route defined on
a compatible GPS device.
1
Create and navigate a route on your GPS device.
2
Select Menu > GPS Steering > Follow Route.
Orbit Pattern
The orbit pattern steers the boat in a continuous circle around
the active waypoint. The size of the circle is defined by your
distance from the active waypoint when you begin the orbit
pattern.
Following an Orbit Pattern
1
Select Menu > GPS Steering > Orbit > Engage.
2
Select an option:
• Select
to begin a clockwise turn.
• Select
to begin a counter-clockwise turn.
Cloverleaf Pattern
The cloverleaf pattern steers the boat to repeatedly pass over
an active waypoint. When you begin the cloverleaf pattern, the
autopilot drives the boat toward the active waypoint and begins
the cloverleaf pattern.
Setting Up the Cloverleaf Pattern
You can adjust the distance from the waypoint at which the
autopilot turns your boat for another pass over the waypoint.
The default setting turns the boat at a range of 1000 ft. (300 m)
from the active waypoint.
between the waypoint and the location where the autopilot turns
the boat
1
Select Menu > GPS Steering > Cloverleaf > Length.
2
Select
or
to set the range.
3
Select Done.
Following the Cloverleaf Pattern
1
Select Menu > GPS Steering > Cloverleaf > Engage.
2
Select an option:
• To begin a starboard turn, select
• To begin a port turn, select
Search Pattern
The search pattern steers the boat in increasingly larger circles
outward from the active waypoint, forming a spiral pattern.
When you begin the search pattern, the autopilot drives the boat
to the active waypoint and begins the pattern.
Sailboat Autopilot Operation
WARNING
CAUTION
.
.
Setting Up the Search Pattern
You can adjust the distance between each circle in the spiral.
The default distance between circles in 50 ft. (20 m).
1
Select Menu > GPS Steering > Search > Spacing.
2
Select
or
to set the distance.
3
Select Done.
Following the Search Pattern
1
Select Menu > GPS Steering > Search > Engage.
2
Select an option:
• To begin a starboard turn, select
• To begin a port turn, select
Sailboat Autopilot Operation
When engaged, the autopilot controls only the rudder. You and
your crew remain responsible for the sails while the autopilot is
engaged.
In addition to heading hold, you can use the autopilot to
maintain a wind hold. You can also use the autopilot to control
the rudder while tacking and gybing.
Wind Hold
You can set the autopilot to maintain a specific bearing relative
to the current wind angle. Your device must be connected to a
NMEA 2000 or NMEA 0183 compatible wind sensor to perform
a wind hold or a wind-based tack or gybe.
Setting the Wind Hold Type
Before you can enable the wind hold type, you must connect a
NMEA 2000 or NMEA 0183 wind sensor to the autopilot.
For advanced autopilot configuration, see the installation
instructions included with your autopilot.
1
Select Menu > Setup > User Autopilot Setup > Wind Hold
Type.
2
Select Apparent or True.
Engaging Wind Hold
Before you can enable the wind hold type, you must connect a
NMEA 2000 or NMEA 0183 wind sensor to the autopilot.
When the autopilot is in standby mode, select Wind Hold.
Engaging Wind Hold from Heading Hold
Before you can enable the wind hold type, you must connect a
NMEA 2000 or NMEA 0183 wind sensor to the autopilot.
With heading hold engaged, select Menu > Wind Hold.
Adjusting the Wind Hold Angle with the Autopilot
You can adjust the wind hold angle on the autopilot when wind
hold is engaged.
• To adjust the wind hold angle in increments of 1°, select
<<10° <1° or 1°> 10°>>.
• To adjust the wind hold angle in increments of 10°, hold
<<10° <1° or 1°> 10°>>.
Tack and Gybe
You can set the autopilot to perform a tack or gybe while
heading hold or wind hold is engaged.
Tacking and Gybing from Heading Hold
1
Engage heading hold
(page
2
Select Menu > Tack/Gybe.
3
Select
or
to choose a direction.
.
.
CAUTION
1).
3
