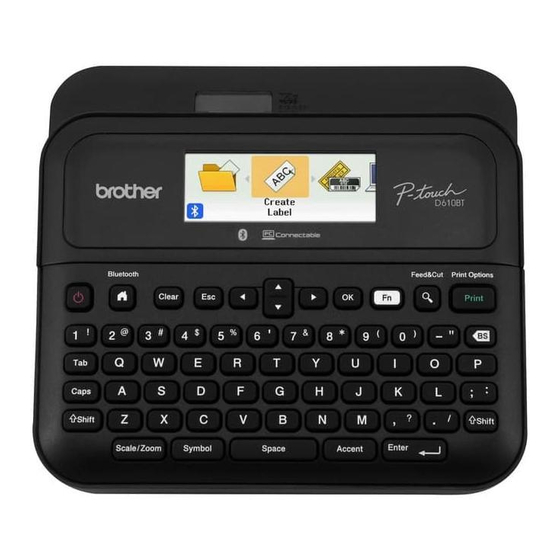
Brother P-touch PT-D610BT Manual - Página 6
Procurar online ou descarregar pdf Manual para Fabricante de etiquetas Brother P-touch PT-D610BT. Brother P-touch PT-D610BT 9 páginas.
Também para Brother P-touch PT-D610BT: Manual (9 páginas), Manual de início rápido (9 páginas)

Set Auto Format Layouts (cont.)
Table
Set the number of rows and columns to
Format
create a label template.
[Auto Format]
[Table Format]
Select a tape width
[Rows]
[Columns]
Enter text
Repeat for each text field
Print Labels
Preview
Use this feature to check the final design
before printing.
Print
Start printing.
When printing a single label:
/
When printing multiple labels:
Select a print quantity
/
Numbering
Set this feature when printing consecutive
Print
alphanumeric characters to add a serialised
+
number to each label.
Enter alphanumeric characters
[Number]
Set the start position
Set the end position
Select a print quantity
Mirror
Print reversed from left to right.
Print
Print on clear tape and attach it to the inside
+
of glass to create a label that can be read
from the outside.
Enter text
/
Barcode
Create a barcode and print it.
Printing
[Barcode]
Select a setting item
the setting content
barcode data
/
Other
Feed &
Feed approx. 23 mm of tape to remove any
Cut
slack, and then cut it.
+
+
Other (cont.)
Save
/
/
/
Set a value
Set a value
/
/
/
For more information about using your Label Maker, see the User's Guide on the Brother support website at
support.brother.com.
Symbols and Frames
Symbol Examples (
/
/
Auto Format Layouts Examples (
+
/
/
For more information about symbols and frames, see the User's Guide on the Brother support website at support.brother.com.
/
/
/
Set Margins
By default the printer creates a laminate margin of approx. 23 mm at the beginning of each label. To reduce this margin, print multiple
labels continuously.
You can also change the margin before and after the text for the second and subsequent labels when printing multiple labels.
Select [Chain] to print labels with the narrowest margin width. DO NOT feed the tape until the final label is printed. When the final label
prints, cut it manually using the [Feed & Cut] function.
+
[Mirror]
/
/
: Print area
ABC A
Large Margin
/
Change
/
Enter
Select a signal
2 mm
/
ABC
Approx.
23 mm
Chain
2 mm
ABC
Approx.
23 mm
Save your labels and access them later to
edit and print them, as well as overwrite and
save edited data.
Maximum number of saved labels: 99 files
Maximum character count per file:
280 characters
Create a label
Select a save destination
/
)
[Auto Format])
: Margin
Small Margin
When the label length is approx. 23 mm
or more
2 mm
2 mm
2 mm
ABC
Approx.
Approx.
Approx.
Approx.
23 mm
23 mm
23 mm
23 mm
No Cut
2 mm
Cut Position
ABC
Approx.
2 mm
23 mm
Reset
Reset the internal memory, for example, to
reset the Label Maker or delete any saved
label data.
reset method
[Save]
/
message
Frame Examples (
...
Accented Character Examples (
...
: Laminate Margin
2 mm
2 mm
2 mm
ABC
ABC
2 mm
2 mm
2 mm
ABC
ABC
2 mm
[Settings]
/
[Reset]
/
Select a
/
Confirmation
/
[Frame])
...
)
...
Small Margin
When the label length is approx. 23 mm
or less
2 mm
A
A
Approx.
2 mm Approx.
23 mm
23 mm
Special Tape
2 mm
2 mm
2 mm
ABC
ABC
Approx.
2 mm
23 mm
