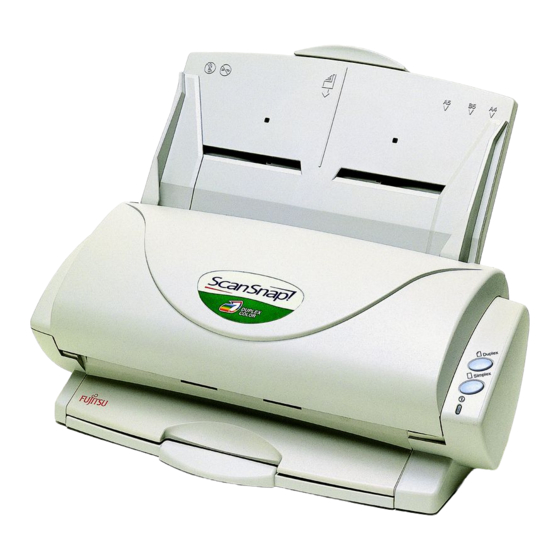
Fujitsu ScanSnap FI-4110EOX2 Manual de iniciação - Página 9
Procurar online ou descarregar pdf Manual de iniciação para Scanner Fujitsu ScanSnap FI-4110EOX2. Fujitsu ScanSnap FI-4110EOX2 18 páginas. Color image scanner
Também para Fujitsu ScanSnap FI-4110EOX2: Procedimentos de instalação (2 páginas), Especificações (2 páginas)

3.
The setup window appears. Follow the instructions on
the window.
During installation, the following window
HINT
appears
.
[Typical] <Recommended>
"ScanSnap! Driver" and "CardMinder" are
installed with their manuals.
[Compact]
"ScanSnap! Driver" is installed with its
manual.
[Custom]
You can select the software to install with its
manual.
4.
When the installation completes, restart your
computer.
Refer to "ScanSnap! Operator's Guide" to
ATTENTION
learn more about ScanSnap! Driver or
CardMinder installation.
2.2. Connecting the Scanner
Use the following procedure to connect the scanner to your
computer.
2.2.1. Connecting the AC cable
1.
Connect the AC cable with AC adapter.
2.
Insert the connector by the side of the AC adapter to
the scanner inlet.
3.
Insert the other end of the AC cable into the outlet.
Outlet
Inlet
2.2.2. Connecting the USB cable
Use the following procedure to connect the USB cable.
● Use the accessory USB cable. Operation
ATTENTION
with a commercially available USB cable
is not guaranteed.
● When connecting to a USB hub, be sure
to connect to the hub (first stage) nearest
to your computer. If you connect to a USB
hub from the second stage onwards,
ScanSnap! scanner may not
1.
Remove the seal covering the USB connector.
2.
Connect the smaller connector of the USB cable to
the USB connector on the back of the scanner.
Please connect the USB cable firmly.
ATTENTION
3.
Insert the other end of the USB cable into the USB
port on your computer.
Make sure that your computer has been
ATTENTION
started before connection.
Your computer automatically detects the scanner.
In case of Windows 98
There is a request to insert a disc. When this happens,
insert the Windows 98 CD-ROM in your CD-ROM drive.
And then click the [OK] button.
In case of Windows Me
The new hardware is detected and the installation
completes automatically.
In case of Windows 2000
When [Digital Signature not Found]
click the [Yes] button.
In case of Windows XP
1) When [Found New Hardware Wizard]
click the [Next >] button.
2) When [Hardware Installation]
click the [Continue Anyway] button.
3) Click the [Finish] button when the installation finishes.
The installation of ScanSnap! product is complete!
The "ScanSnap! Monitor" icon in the task
ATTENTION
tray is displayed as
When the icon remains as
and then re-connect the power cable.
ScanSnap! fi-4110EOX2 Getting Started | 7
function.
USB connector
,
appears
,
appears
,
appears
.
disconnect
,
