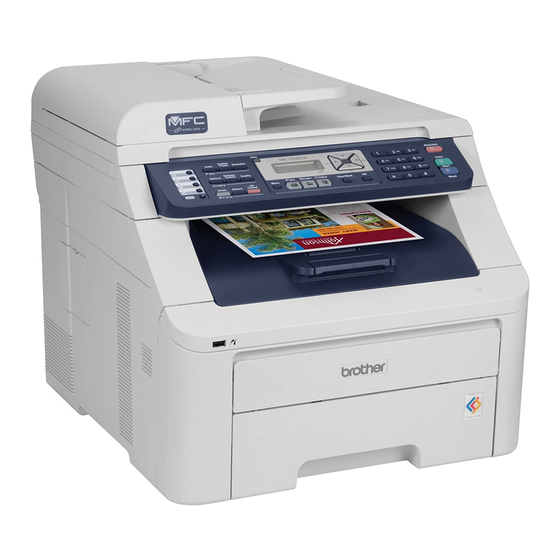
Brother MFC-9320CW Manual de configuração rápida - Página 34
Procurar online ou descarregar pdf Manual de configuração rápida para Servidor de impressão Brother MFC-9320CW. Brother MFC-9320CW 49 páginas. Vista network connection repair instructions
Também para Brother MFC-9320CW: Especificações técnicas (6 páginas), Manual de configuração rápida (47 páginas), Manual de ligação (6 páginas)

For Wireless Network Users
h
Press a or b to choose TKIP or AES for
Encryption Type? and press OK.
Enter the WPA/WPA2-PSK password you
wrote down in step 16-b on page 29 using the
dial pad to choose each letter or number.
For example, to enter the letter a, press the 2
key on the dial pad once. To enter the number
3, press the 3 key on the dial pad seven times.
The letters appear in this order: lower case,
upper case and then numbers.
(For more information, see Entering Text for
Wireless Settings on page 47.)
Press OK when you have entered all the
characters, then press 1 for Yes to apply your
settings. Go to step k.
i
Enter the user name and press OK. You can
use d or c to move the cursor. For example, to
enter the letter a, press the 2 key on the dial
pad once.
Enter the password and press OK, and then
press 1 to apply your settings. Go to step k.
(Use the chart on Entering Text for Wireless
Settings on page 47.)
j
Press a or b to choose TKIP or AES for
Encryption Type? and press OK.
Enter the user name and press OK. You can
use d or c to move the cursor. For example, to
enter the letter a, press the 2 key on the dial
pad once.
Enter the password and press OK, and then
press 1 to apply your settings. Go to step k.
(Use the chart on Entering Text for Wireless
Settings on page 47.)
k
Your machine will now try to connect to your
wireless network using the information you
have entered. If successful, Connected will
appear briefly on the LCD.
If your machine does not successfully connect
to your network, verify your network settings
collected in step 16-b on page 29, then repeat
steps a to j to make sure you have entered the
correct information.
If your access point does not have DHCP
enabled you will need to manually configure
the IP address, subnet mask and gateway of
the machine to suit your network. See the
Network User's Guide for details.
Wireless setup is now complete. A four
level indicator at the top of your
machine's LCD will show the wireless
signal strength of your access point or
router.
34
To install MFL-Pro Suite, continue to
step 18.
®
For Windows
Users:
Now go to
step 18 on page 37
For Macintosh Users:
Now go to
step 18 on page 42
