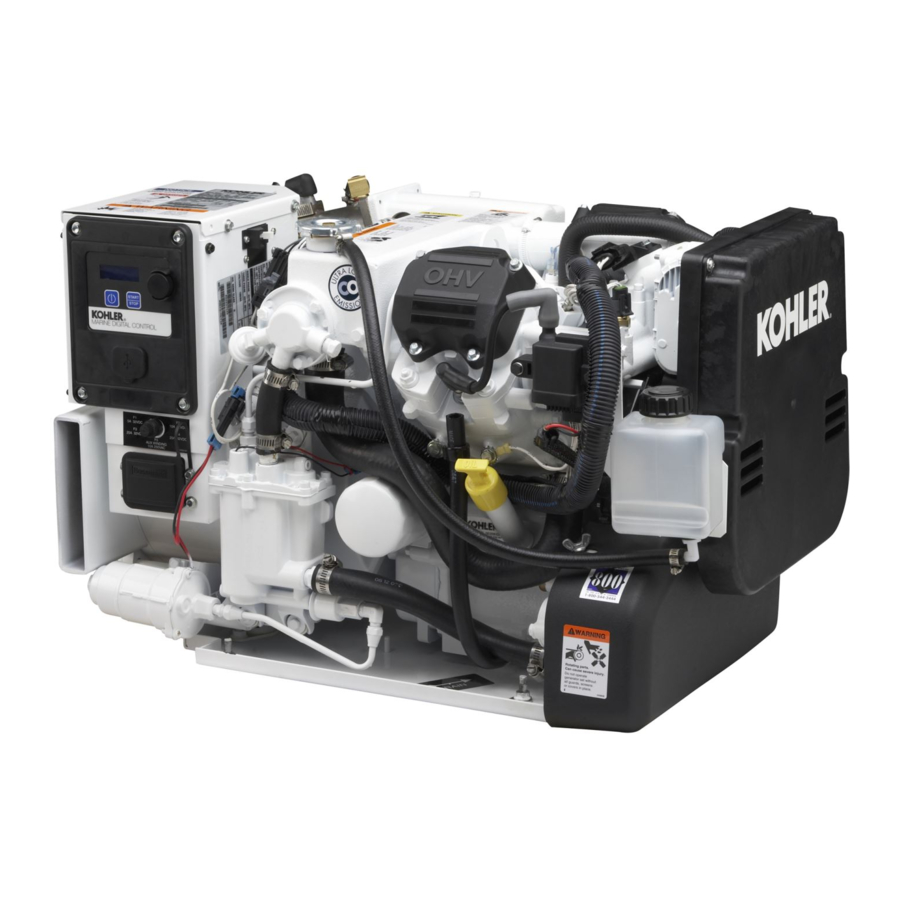
Kohler 13EOZD Instruções de instalação
Procurar online ou descarregar pdf Instruções de instalação para Produto de canalização Kohler 13EOZD. Kohler 13EOZD 2 páginas. Marine seawater pump service kit gm59333

Original Issue Date: 2/08
Model: 13/15.5/20/23EOZD and 11/13/17/20EFOZD
Market: Marine
Subject: Seawater Pump Service Kit GM59333
Introduction
Use this service kit to replace the existing seawater pump
(GM35622) with a new seawater pump design which
incorporates a pressed-on pulley.
service kit involves replacing the seawater pump and
bracket.
Note: If impeller replacement is necessary, use impeller
kit 229826 for seawater pump service kit
GM59333.
Safety Precautions
Accidental starting.
Can cause severe injury or death.
Disconnect the battery cables before
working
on the
Remove the negative (--) lead first
when disconnecting the battery.
Reconnect the negative (--) lead last
when reconnecting the battery.
Disabling the generator set.
cause severe injury or death.
generator set or connected equipment, disable the generator
set as follows: (1) Move the generator set master switch to the
OFF position. (2) Disconnect the power to the battery charger.
(3) Remove the battery cables, negative (--) lead first.
Reconnect the negative (--) lead last when reconnecting the
battery. Follow these precautions to prevent starting of the
generator set by an automatic transfer switch, remote
start/stop switch, or engine start command from a remote
computer.
INSTALLATION INSTRUCTIONS
Installation of the
WARNING
generator set.
Accidental starting can
Before working on the
Hazardous voltage.
Can cause severe injury or death.
Operate the generator set only when
all guards and electrical enclosures
are in place.
Servicing the generator set when it is operating. Exposed
moving parts can cause severe injury or death. Keep
hands, feet, hair, clothing, and test leads away from the belts
and pulleys when the generator set is running. Replace
guards, screens, and covers before operating the generator
set.
Note: Retorque all crankshaft and rotor hardware after
servicing. Do not loosen the crankshaft hardware
or rotor thrubolt when making adjustments or
servicing the generator set.
crankshaft manually in a clockwise direction only.
Turning the crankshaft bolt or rotor thrubolt
counterclockwise can loosen the hardware.
Installation Procedure
1.
Remove the generator set from service.
1.1
Place the generator set master switch in the OFF
position.
1.2
Disconnect the power to the battery charger, if
equipped.
1.3
Disconnect the generator set engine starting
battery(ies), negative (−) lead first.
TT-1479 11/10b
WARNING
Moving parts.
Rotate the
