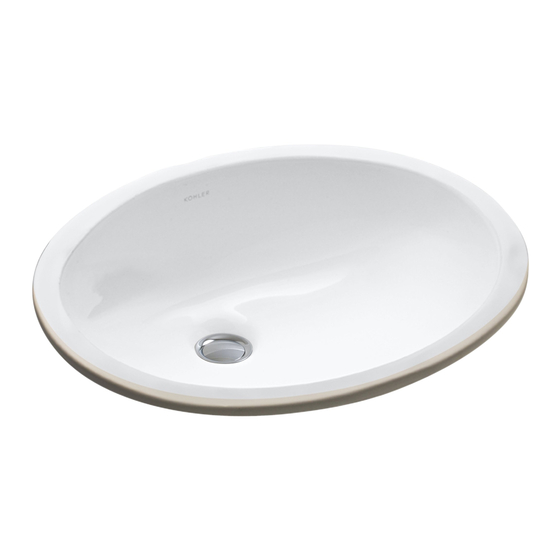
Kohler Compass K-2298 Manual de instruções de instalação - Página 3
Procurar online ou descarregar pdf Manual de instruções de instalação para Luminárias de casa de banho Kohler Compass K-2298. Kohler Compass K-2298 16 páginas. Undercounter lavatories
Também para Kohler Compass K-2298: Manual de instalação e cuidados (16 páginas), Manual de instalação (16 páginas), Manual do Proprietário (24 páginas), Manual de instalação (16 páginas), Manual de instalação e cuidados (16 páginas)

DRAW PRELIMINARY FAUCET CENTERLINE
1.
Draw the distance determined in FAUCET LOCATION as the
preliminary centerline on the cut-out template. It should be parallel
and behind the cut-out template reference line (located on the
cut-out template).
NOTE: On the full-size rim section found on the cut-out
template, mark the preliminary faucet centerline dimension.
This will be used to DETERMINE FINAL FAUCET CENTER-
LINE.
DETERMINE FINAL FAUCET CENTERLINE
NOTE: If you are installing a tiled-in lavatory, proceed to Step 1B.
The preliminary faucet line from DRAW PRELIMINARY
FAUCET LINE is the final faucet line in this case.
1.
When this preliminary faucet centerline has been drawn the
spout must be checked for three items:
A.
Refer to Fig. #2. For low profile faucet spouts, the
distance between the faucet spout and the lavatory rim must be a
minimum of 1/4" (6mm). Use the faucet spout, the preliminary
faucet centerline, and the full size rim section on the cut-out template
to check this. If there is not 1/4" (6mm) clearance, move the
preliminary faucet centerline back. Recheck the clearance until you
have 1/4" (6mm). Measure the distance of the new faucet centerline.
Redraw the new faucet centerline behind the reference line on the
cut-out template. Remark this dimension on the full size rim section.
This is the final faucet centerline.
Fig. #3
B.
Refer to Fig. #3. Check to be sure the water stream will
project 2" (5cm) minimum into the lavatory basin to allow adequate
area for hand washing. Use the approximate faucet spout angle, the
final faucet centerline and the full-size rim section from the cut-out
template to ensure this clearance. If this cannot be accomplished,
the faucet is not optimally matched for this lavatory and may not
operate on this lavatory to the owner's satisfaction. You may wish to
consider an alternate faucet.
C.
Refer to Fig. #3. Check for compliance with all state and
local plumbing codes, including air gap standards.
B
1007251-2-
1/4" (6mm)Min.
2" (5cm) Min.
FAUCET CLEARANCE WITH BACKSPLASH
NOTE: 2-1/2" (6,4cm) of space is required for the Kohler Bravura
widespread and Cirrus Sheetflow faucet spouts.
1.
Refer to Fig. #4. Draw a line 2" (5cm) behind the final faucet
centerline on the cut-out template. This is the minimum backsplash
locator line. It is drawn to ensure adequate clearance behind the
faucet for proper installation. It will also help position the lavatory on
the countertop. Cut along this backsplash locator line. Save the
section of the cut-out template with the lavatory rim and cut-out
lines.
Countertop Backsplash Backsplash Locator Line
2"
(5cm)
INSTALLATION
1
. To remove old lavatory, turn off water supplies. Turn the
lavatory faucet on to drain water from the lines. Disconnect and
remove water supply tubes. Disconnect drain and remove trap.
CAUTION:
To remove steel frame lavatories, remove
clips or fasteners under lavatory that hold lavatory to counter.
Do not remove clips that hold frame to fixture.
3
2" (5cm)
Min.
Fig. #4
C L of Fitting
Cut-Out Template
On Countertop
Countertop
Fig. #5
Air
Gap
Kohler Co.
