Kohler Clearflo K-7161 Instruções de instalação - Página 3
Procurar online ou descarregar pdf Instruções de instalação para Banheiras Kohler Clearflo K-7161. Kohler Clearflo K-7161 4 páginas. Bath drains
Também para Kohler Clearflo K-7161: Manual de instalação e cuidados (24 páginas), Manual do Proprietário (21 páginas)

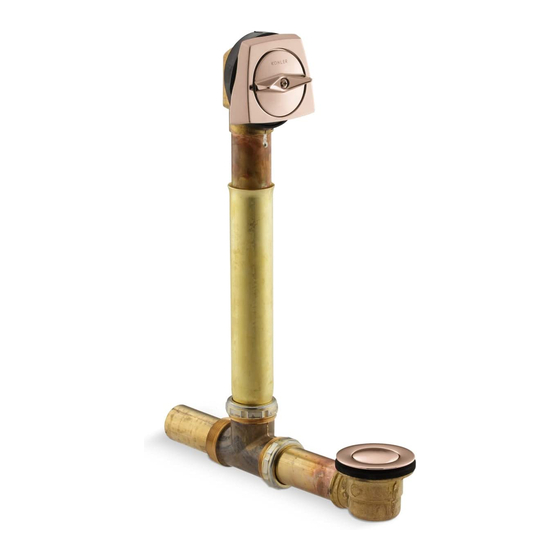
FOR BELOW FLOOR INSTALLATIONS: Assemble the
nut and gasket on the drain ell, and the nut and cone
washer on the tube. Align the parts with the tee, as shown.
Insert the tubes completely into the tee. Align and tighten
the nuts.
Attach the tailpiece to the tee, and tighten. The tailpiece
may need to be cut for proper fit. The tailpiece should fit
inside the trap 1" (2.5cm) to 2" (5.1cm). Install the bath
according to the manufacturer's installation instructions.
Make sure the drain tailpiece fits properly into the trap.
FOR ABOVE FLOOR INSTALLATIONS: Assemble the
nut and gasket on the drain ell, and the nut and cone
washer on the tube. Align the parts with the tee, as shown.
Insert the tubes completely into the tee. Align and tighten
the nuts.
Attach the tailpiece to the tee, and tighten. The tailpiece
may need to be cut for proper fit. The tailpiece should fit
inside the trap 1" (2.5cm) to 2" (5.1cm). Install the bath
according to the manufacturer's installation instructions.
Make sure the drain tailpiece fits properly into the trap.
MULTIPLE LIFT ROD MODELS: Choose the lift rod that
extends most closely to the necessary length. Position the
lift rod assembly directly on the drain stopper. Adjust the
assembly length so the eye of the lift rod is centered over
either top hole of the overflow ell. Refer to the illustration.
Insert the lift rod assembly into the overflow ell. Tighten
the overflow hood to the overflow ell with the two screws
provided.
NOTE: For installations where the overflow hood will be
exposed to high volumes of direct water spray, apply
silicone sealant around the overflow hood.
ATTACHED LIFT ROD ASSEMBLY MODELS: Position
the lift rod assembly directly on the drain stopper. Adjust
the assembly length so the alignment ribs of the overflow
hood line up with the top edge of the overflow hole in the
bath. Refer to the illustration.
Insert the lift rod assembly into the overflow ell. Tighten
the overflow hood to the overflow ell with the two screws
provided.
NOTE: For installations where the overflow hood will be
exposed to high volumes of direct water spray, apply
silicone sealant around the overflow hood.
Kohler Co., Kohler, WI U.S.A.
Nuts
Drain Ell
Gasket
Nuts
Drain Ell
Gasket
3
Tube
Cone
Washer
Tee
Fig. #6
Tube
Cone
Washer
Tee
Fig. #7
Top Holes
Fig. #8
Alignment
Overflow
Ribs
Hole
Fig. #9
113176-2-
BC
