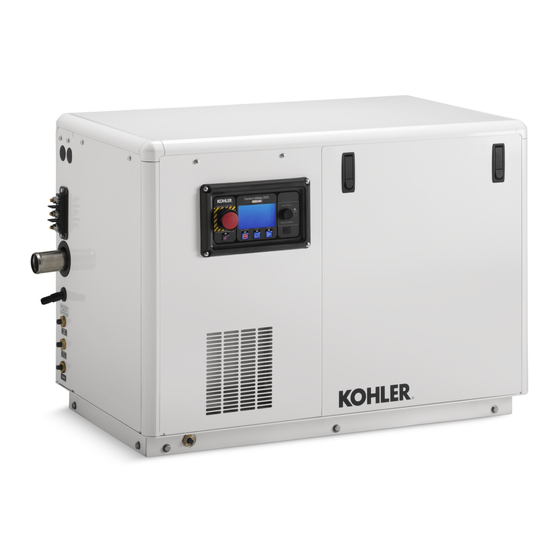
Kohler 11EFKOZD Manual de instruções de instalação - Página 4
Procurar online ou descarregar pdf Manual de instruções de instalação para Gerador portátil Kohler 11EFKOZD. Kohler 11EFKOZD 12 páginas.
Também para Kohler 11EFKOZD: Manual de instruções de instalação (8 páginas)

2.
Make connections.
1. Save the existing hose connector.
2. Save the existing exhaust temperature sender.
3. Save the existing pipe plug.
4. Location of the existing tube tee and pressure switch.
5. Remove and discard the hose (X-312-4).
6. Remove and discard the exhaust tube (GM92557-1).
Figure 7 Remove the Existing Exhaust Tube
2.1
Exhaust connection. Disconnect the lead to the
exhaust temperature sender. Remove the existing
exhaust tube (GM92557-1). See Figure 7, item 6.
Remove and save the exhaust temperature
sender, 90_ hose connector, pipe plug, clamps,
pressure switch, and all hardware. Discard the
exhaust tube.
Remove and discard the short hose (X-312-4) that
connects to the hose connector and to the tee.
See Figure 7, item 5.
Remove and save the coverplate and hardware
and connect the new exhaust tube (GM92557-2 or
GM95109) at the location shown in Figure 8, item
1. Re-use the existing hardware and clamps and
re-install the hose connector, pipe plug, and
exhaust temperature sender. Reconnect the lead
to the exhaust temperature sender. Route the
harness (GM96427) from temperature sensor to
engine harness. See Figure 10 for the new
location of the hose connector.
Connect the hose (X-312-49) to the connector on
the new exhaust tube. Cut the hose 127 mm (5 in.)
from the end shown in Figure 8, item 4 and
connect it to the tee. Re-use the existing hose
clamps.
Re-install the existing coverplate and hardware at
the new location shown in Figure 8, item 2.
4
2
1
3
4
5
6
GM89516-C
1
1. Remove the existing coverplate and hardware and install the
new exhaust tube (GM92557-2 or GM95109) re-using the
existing hardware. Re-install the existing hose connector,
pipe plug, and exhaust temperature sender.
2. Relocate the existing cover plate and hardware at this location
3. Re-use the existing pressure switch, tube tee, and clamps
4. Hose (X-312-49). Cut hose 127 mm (5 in.) from the end to
assemble tee.
Figure 8 Install a New Exhaust Tube on the
Opposite Side
2.2
Customer connection panel. Position the
customer
connection
GM95124) near the engine end of the generator
set. See Figure 9. However, do not final tighten the
panel. The panel will be final tightened in Section
5.
2.3
Seawater pump. Connect the seawater hose
(X-373-30) to the inlet on the seawater pump and
secure with a hose clamp (X-426-12). Route the
hose through the insulated clamp (X-672-32).
Secure the clamp onto the tray. Connect the other
end of the hose to the seawater inlet on the
customer connection panel using a hose clamp
(X-426-12) to secure. See Figure 9.
2.4
Positive battery connection. Connect the red,
positive battery cable (X-545-259) to the starter
motor. See Figure 9. The other end connects on to
the terminal on the customer connection panel.
2.5
Negative battery connection.
black, negative battery cable (X-545-241 or
X-545-176) to the engine block. See Figure 9.
The other end connects to the terminal on the
customer connection panel.
2
3
4
GM93548-A
panel
(GM93558
or
Connect the
TT-1651 4/17a
